I recently decided that I needed to up my game when it came to my greenhouse automation, not because I’m lazy, but because I’m forgetful. My current system tracks the inside temp, outside temp and outside humidity and turns on a heater when it gets too cold. To accomplish this I use a raspberry pi with a ds18b20 temp sensor and a powerswitch tail 2.
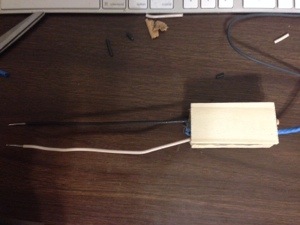
Now I have since built some new planters for my citrus trees (will do a post on them later) and decided I needed to build a system that tells me when they need to be watered (and waters them, but that will come later as well). The first thing I needed to come up with was a moisture sensor to stick in the ground. This sensor measures both the relative moisture in the soil and the light the plant is receiving. This is what I eventually came up with:
If you’re interested in making one if these you’ll need some parts:
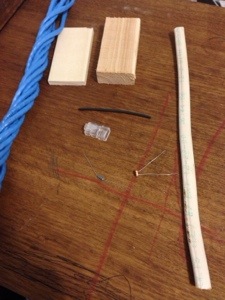
We need a 3″ piece of 1×2 cedar, a 3″ piece of 2″ craft board, some cat 5 cable, a rj45 jack, 10″ of 2×12 gauge electric wire, a LDR, a 10K ohm resistor, and some shrink tubing.
You’ll also need some tools and supplies:
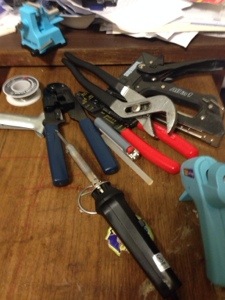
These include a soldering iron and solder, a rj45 crimper and some wire strippers, hot glue gun and glue sticks, a staple gun, pliers and a lighter.
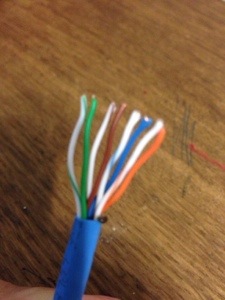
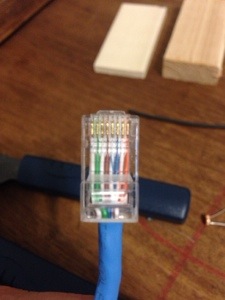
The first step is to place the jack on one end of the cat 5 cable. To do this strip back some of the wrapper and separate the wires. Place them in the order you would like (I used this order as I like the colors next to their white counterparts). Place the wires in the jack and put in the crimper and press it on. Cat 5 cables allow you to have 8 wires, but we only use 5.
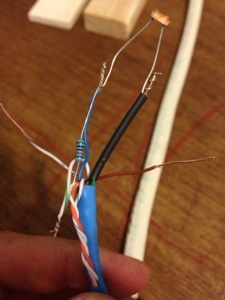
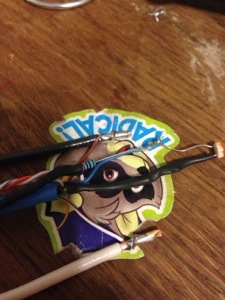
The next step involves wiring up the LDR (light dependent resistor or light sensor). Strip of the wrapping on the other end (you’ll need a good amount) and separate the wires. I use the brown wire for plus volts into the moisture sensor, the brown and white wire for minus volts, the green wire for plus volts for the LDR, green and white for ground for the LDR and the blue wire for data on the LDR.
To wire the LDR you need to connect the green wire to one side (put your shrink tube over the wire before you connect them) the blue wire and one side of the 10k ohm resistor are connected to the other side of the LDR. The green and white wire is connected to the other side of the 10k ohm resistor. Once these are all connected solder them together to create a good solid connection.
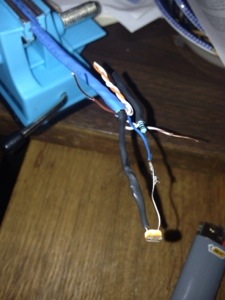
Once they’re all soldered put some shrink tube over the ground side of the LDR connection.
Next, we need to put together our moisture sensor probes. Use your strippers again to pull the black and white wires out of the 2×12 gauge wire.
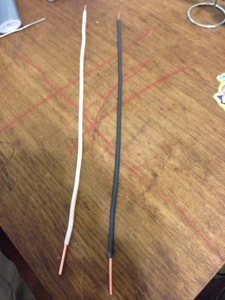
Once separated you will need to strip some off of each end of the wires. Just a little on the wire connection side and more on the side that will go into the ground.
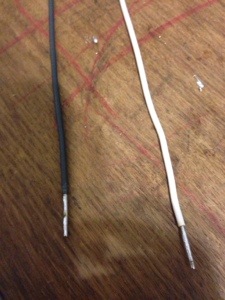
After this solder the ends of the probes that will be in the dirt to prevent erosion.
Next, we need to connect the wires to the probes. Strip off a good bit from the cat 5 cables to make sure you can wrap it around the probe. Then solder the wires to the probes. (It helps to use a small vice to hold everything still while your soldering.
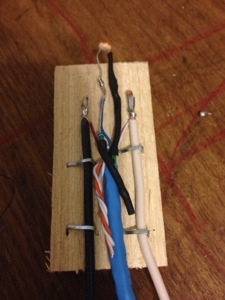
After we are all connected, we need to “mount” the probes to the wood blocks. I align them as shown in the picture, then staple the with 2 staples for each probe. I then go and use some pliers to push the staples in securely.

Almost finished!! Now we need to secure the LDR to the wood block. To do this I hold it down and use hot glue to secure it. I try to place the LDR a little above the top of the block. I also try to put some around all the other wires to make sure they don’t touch.
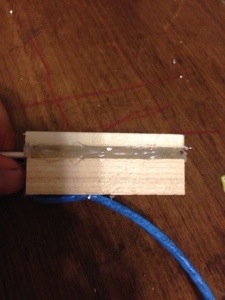
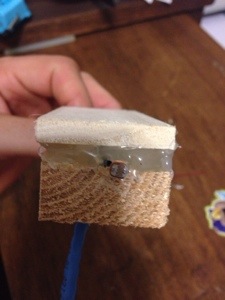
Finally, put the other piece of wood on top of everything and hot glue it together (this uses a lot of hot glue). I try not to cover the LDR with the glue but put it all around it.
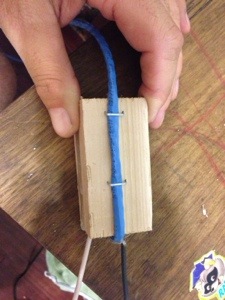
For good measure I staple the cat 5 cable to the back of the block to move it back to the top of the sensor block.
This really does have most of the circuit for the LDR, but for the moisture sensor I use a transistor to cut the ground when I’m not using the sensor to cut down on electrolysis. In another post I’ll write about how I go about using this sensor.
If you have any questions just post in the comments. I have made 2 of these so far and still have 4 to go!!
No comments