I’ve been meaning to do this for a long time…so without further delay, here is my DIY anemometer.
For those not familiar with what an anemometer is, they are used to measure wind speed. There are certain drawbacks to my design, but after having it active for at least 6 months. I think it works fairly well. The way it works is that it has a reed switch that is triggered with a magnet. In my program, I have it hooked up to an interrupt and count the number of times it triggers within 10 seconds and then plug that into a formula. To come up with this formula, I created a setup on an Arduino that constantly looped the 10 second count. My wife and I took the car out to a county road and did some tests at different speeds. I took the average of 3 tries at 5 different speeds to create the formula I use to convert trigger count to mph.
What you’ll need:

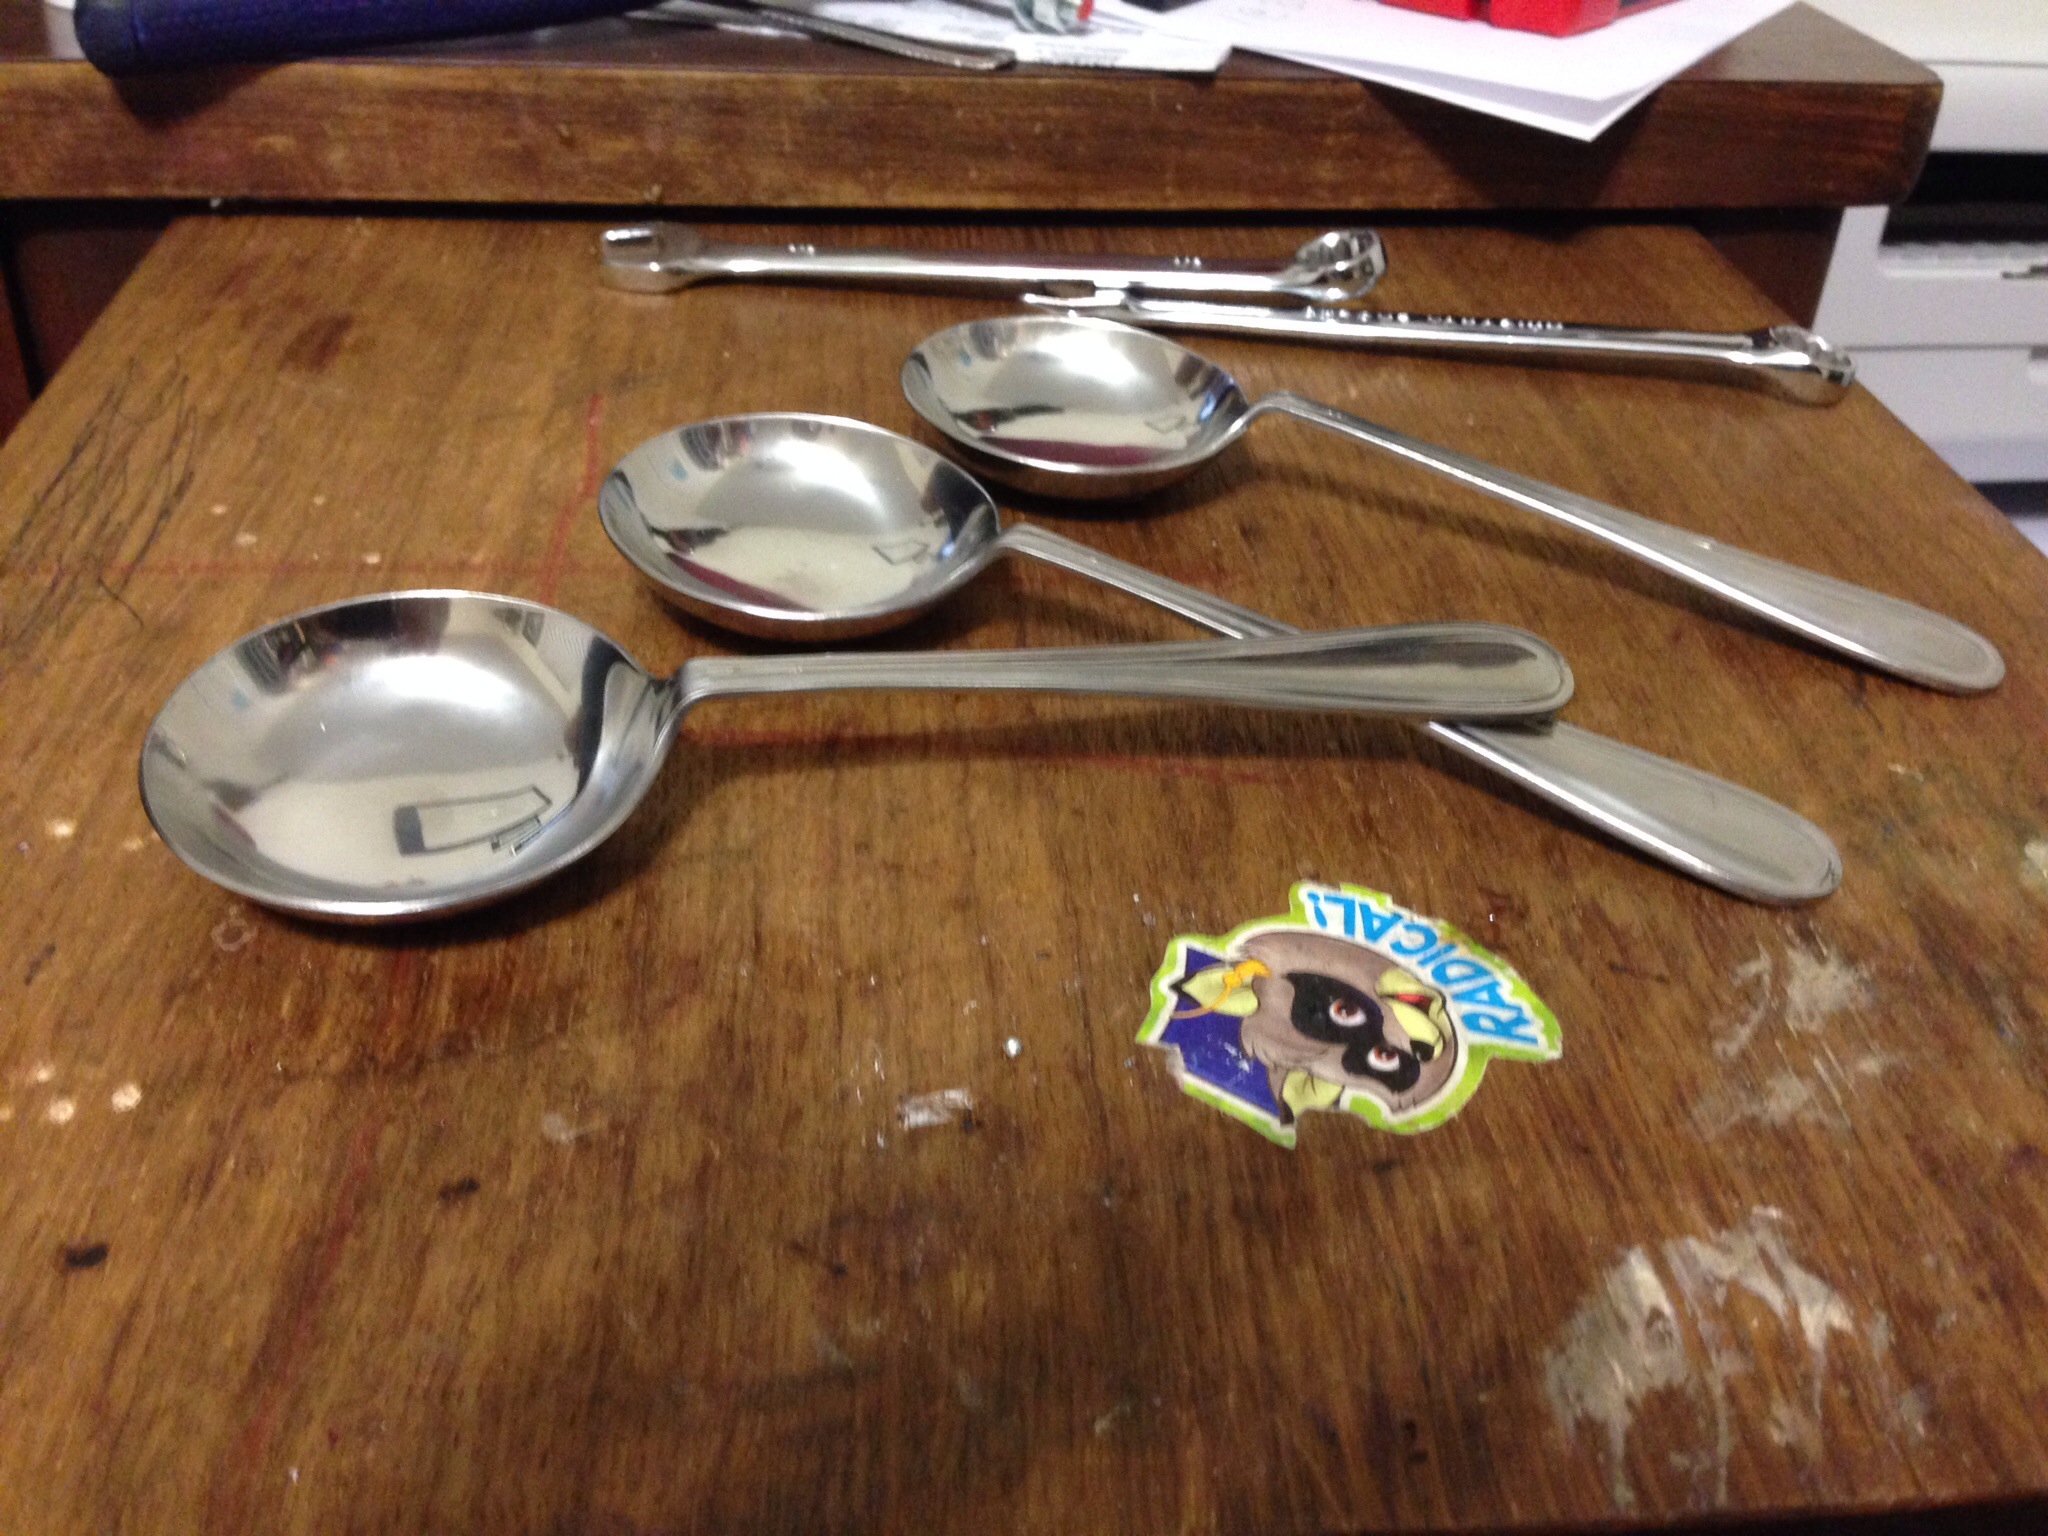
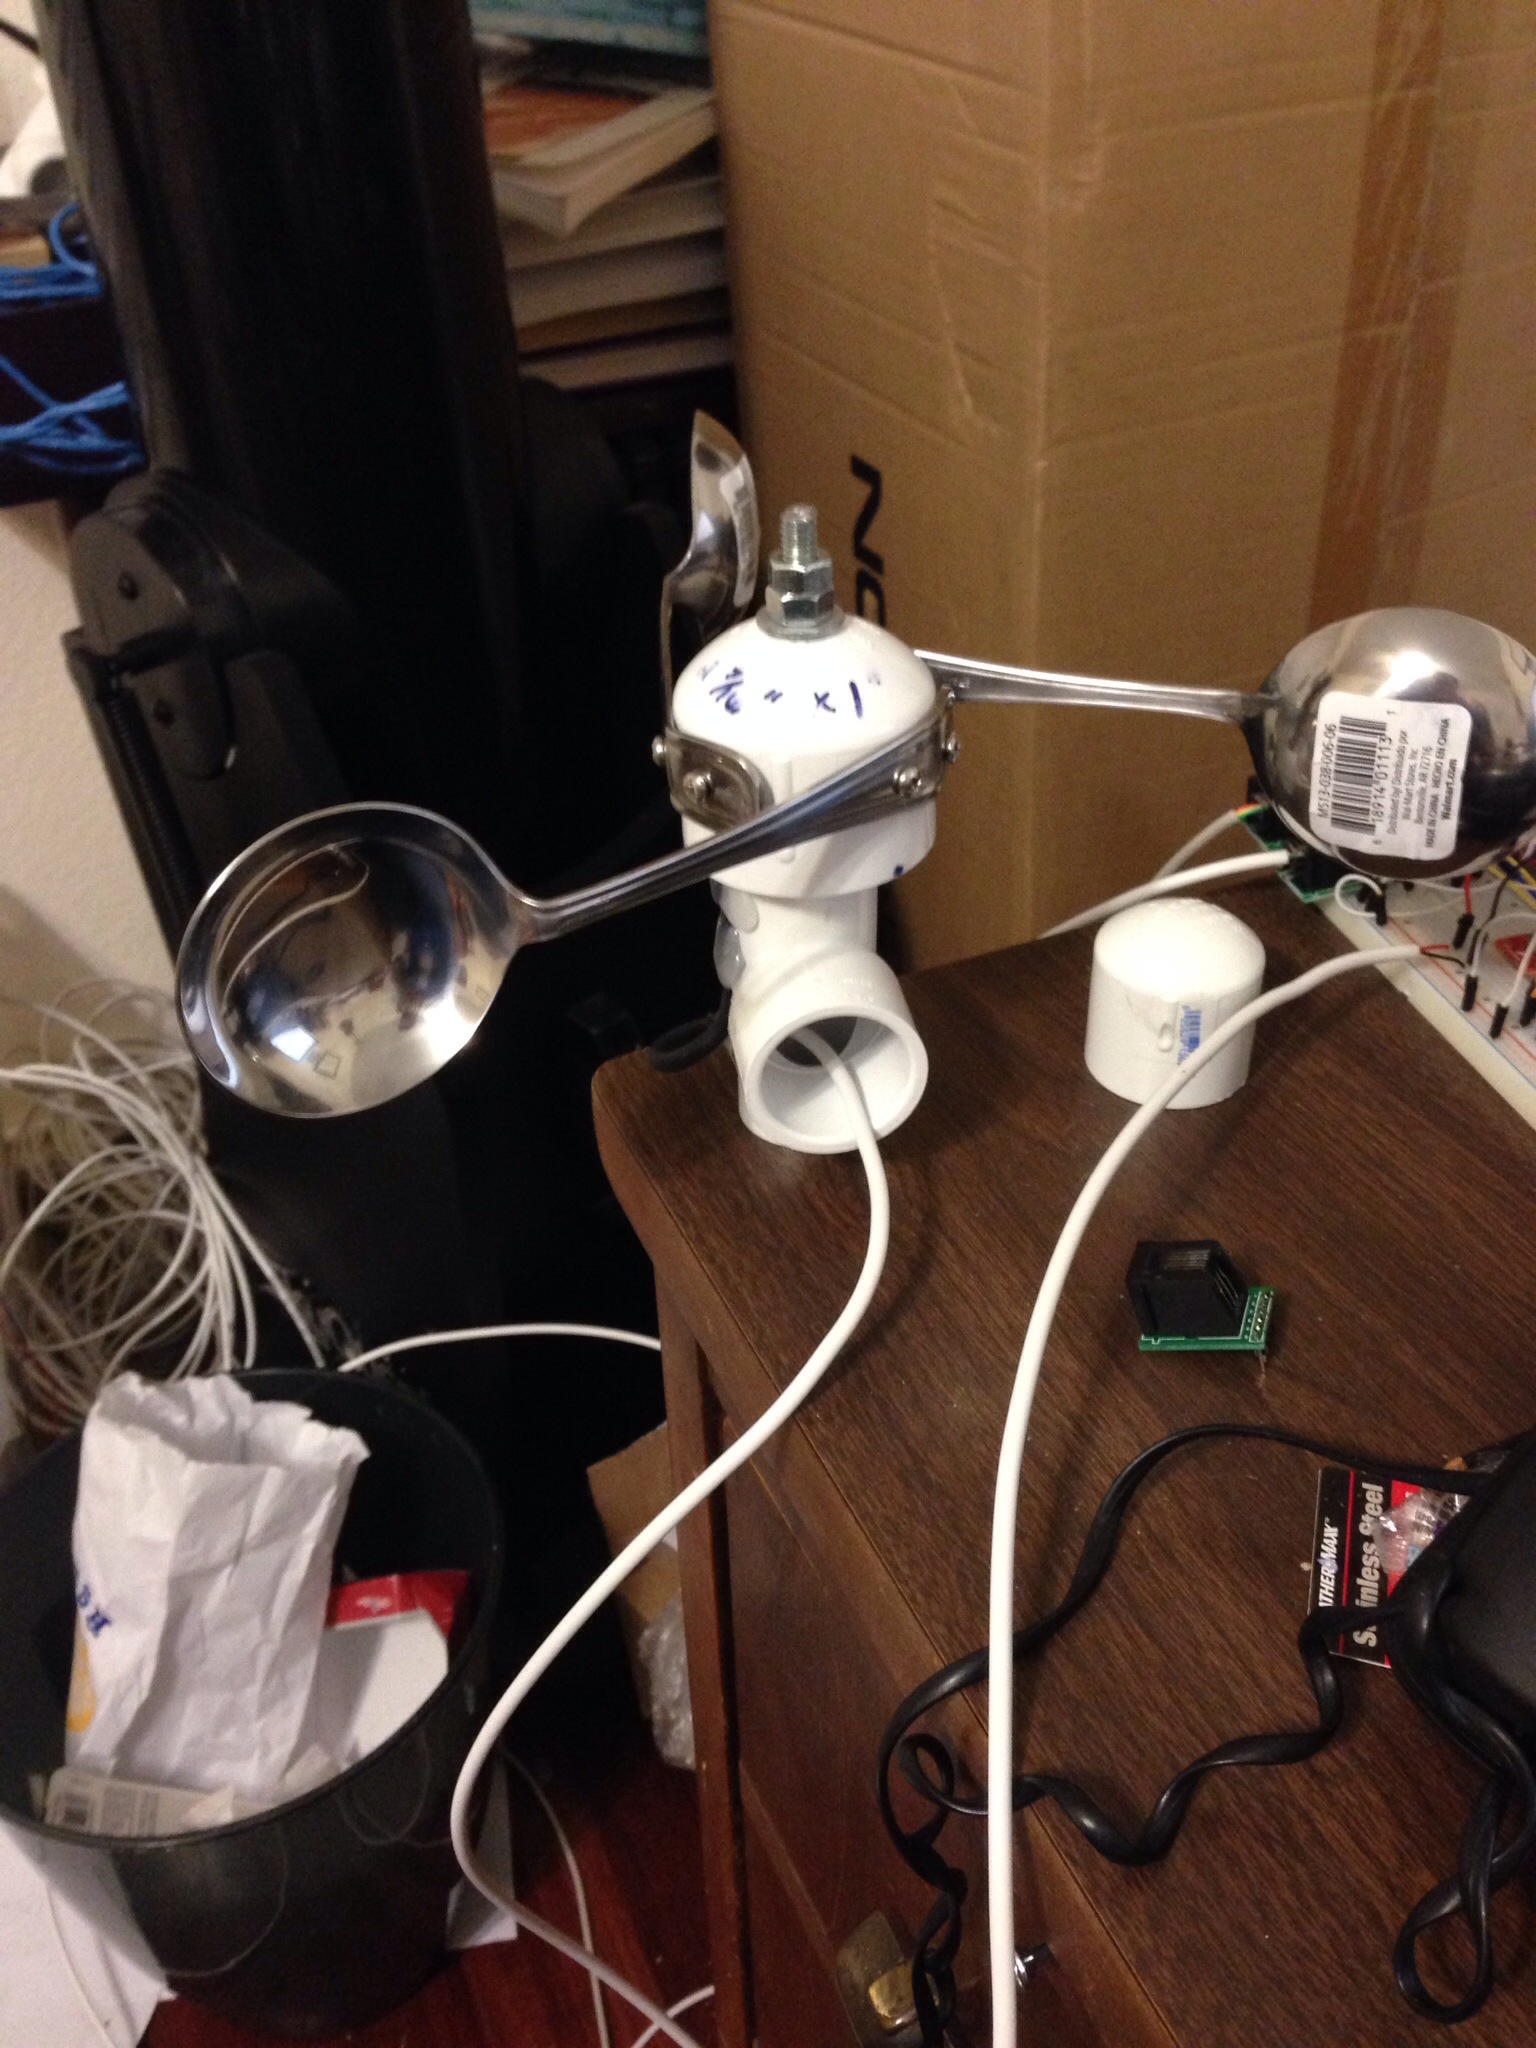
A 7/16″ threaded rod with some nuts and a washer, a 3/4″ to 1″ PVC “T”, a 1 1/2″ PVC cap, a 1″ cap (I think this is the size that fits over one of the sides of the “T”), a slip bushing that will fit in one of the 3/4″ sides of the “T” (that the next item will also fit in), a bearing, 3 ladle spoons (cheap @ Walmart), some small bolts and nuts (I’ll place the size in later), a very small magnet, a reed switch, and some cat 3 (or cat 5) cable.
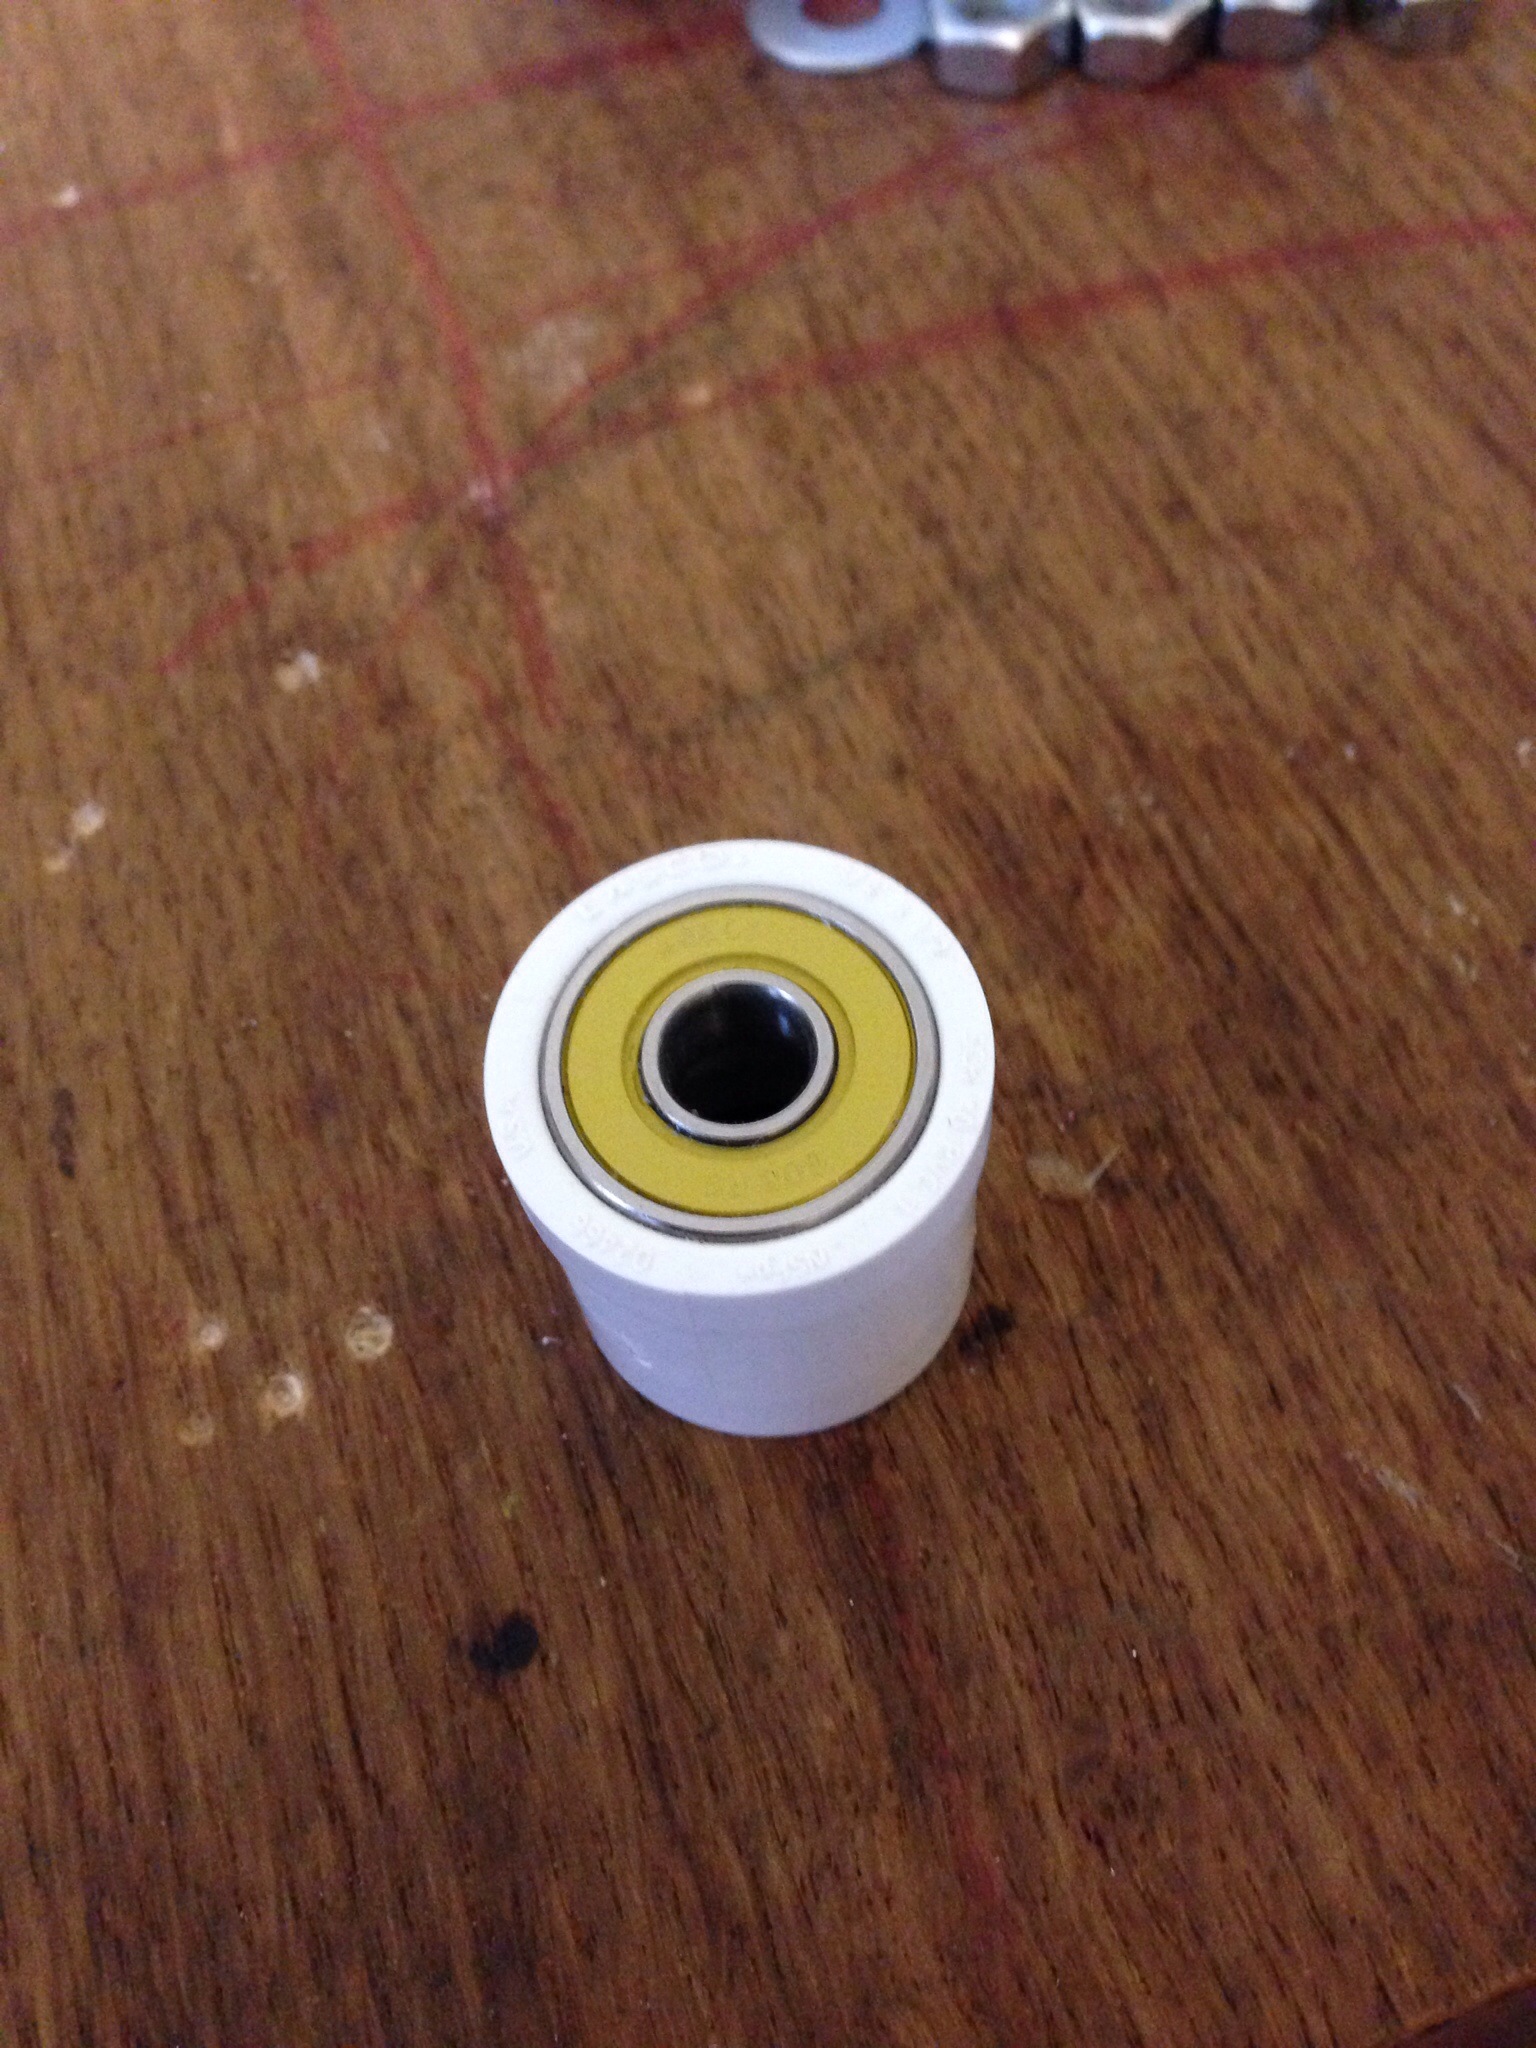
The first step is a bit of work. You have to get the bearing inside the bushing and have it flat with the bushing. What you’ll need to do is sand out the bushing some and use a piece of wood and a clamp to squeeze it in. It’s very important that it is as straight as possible.
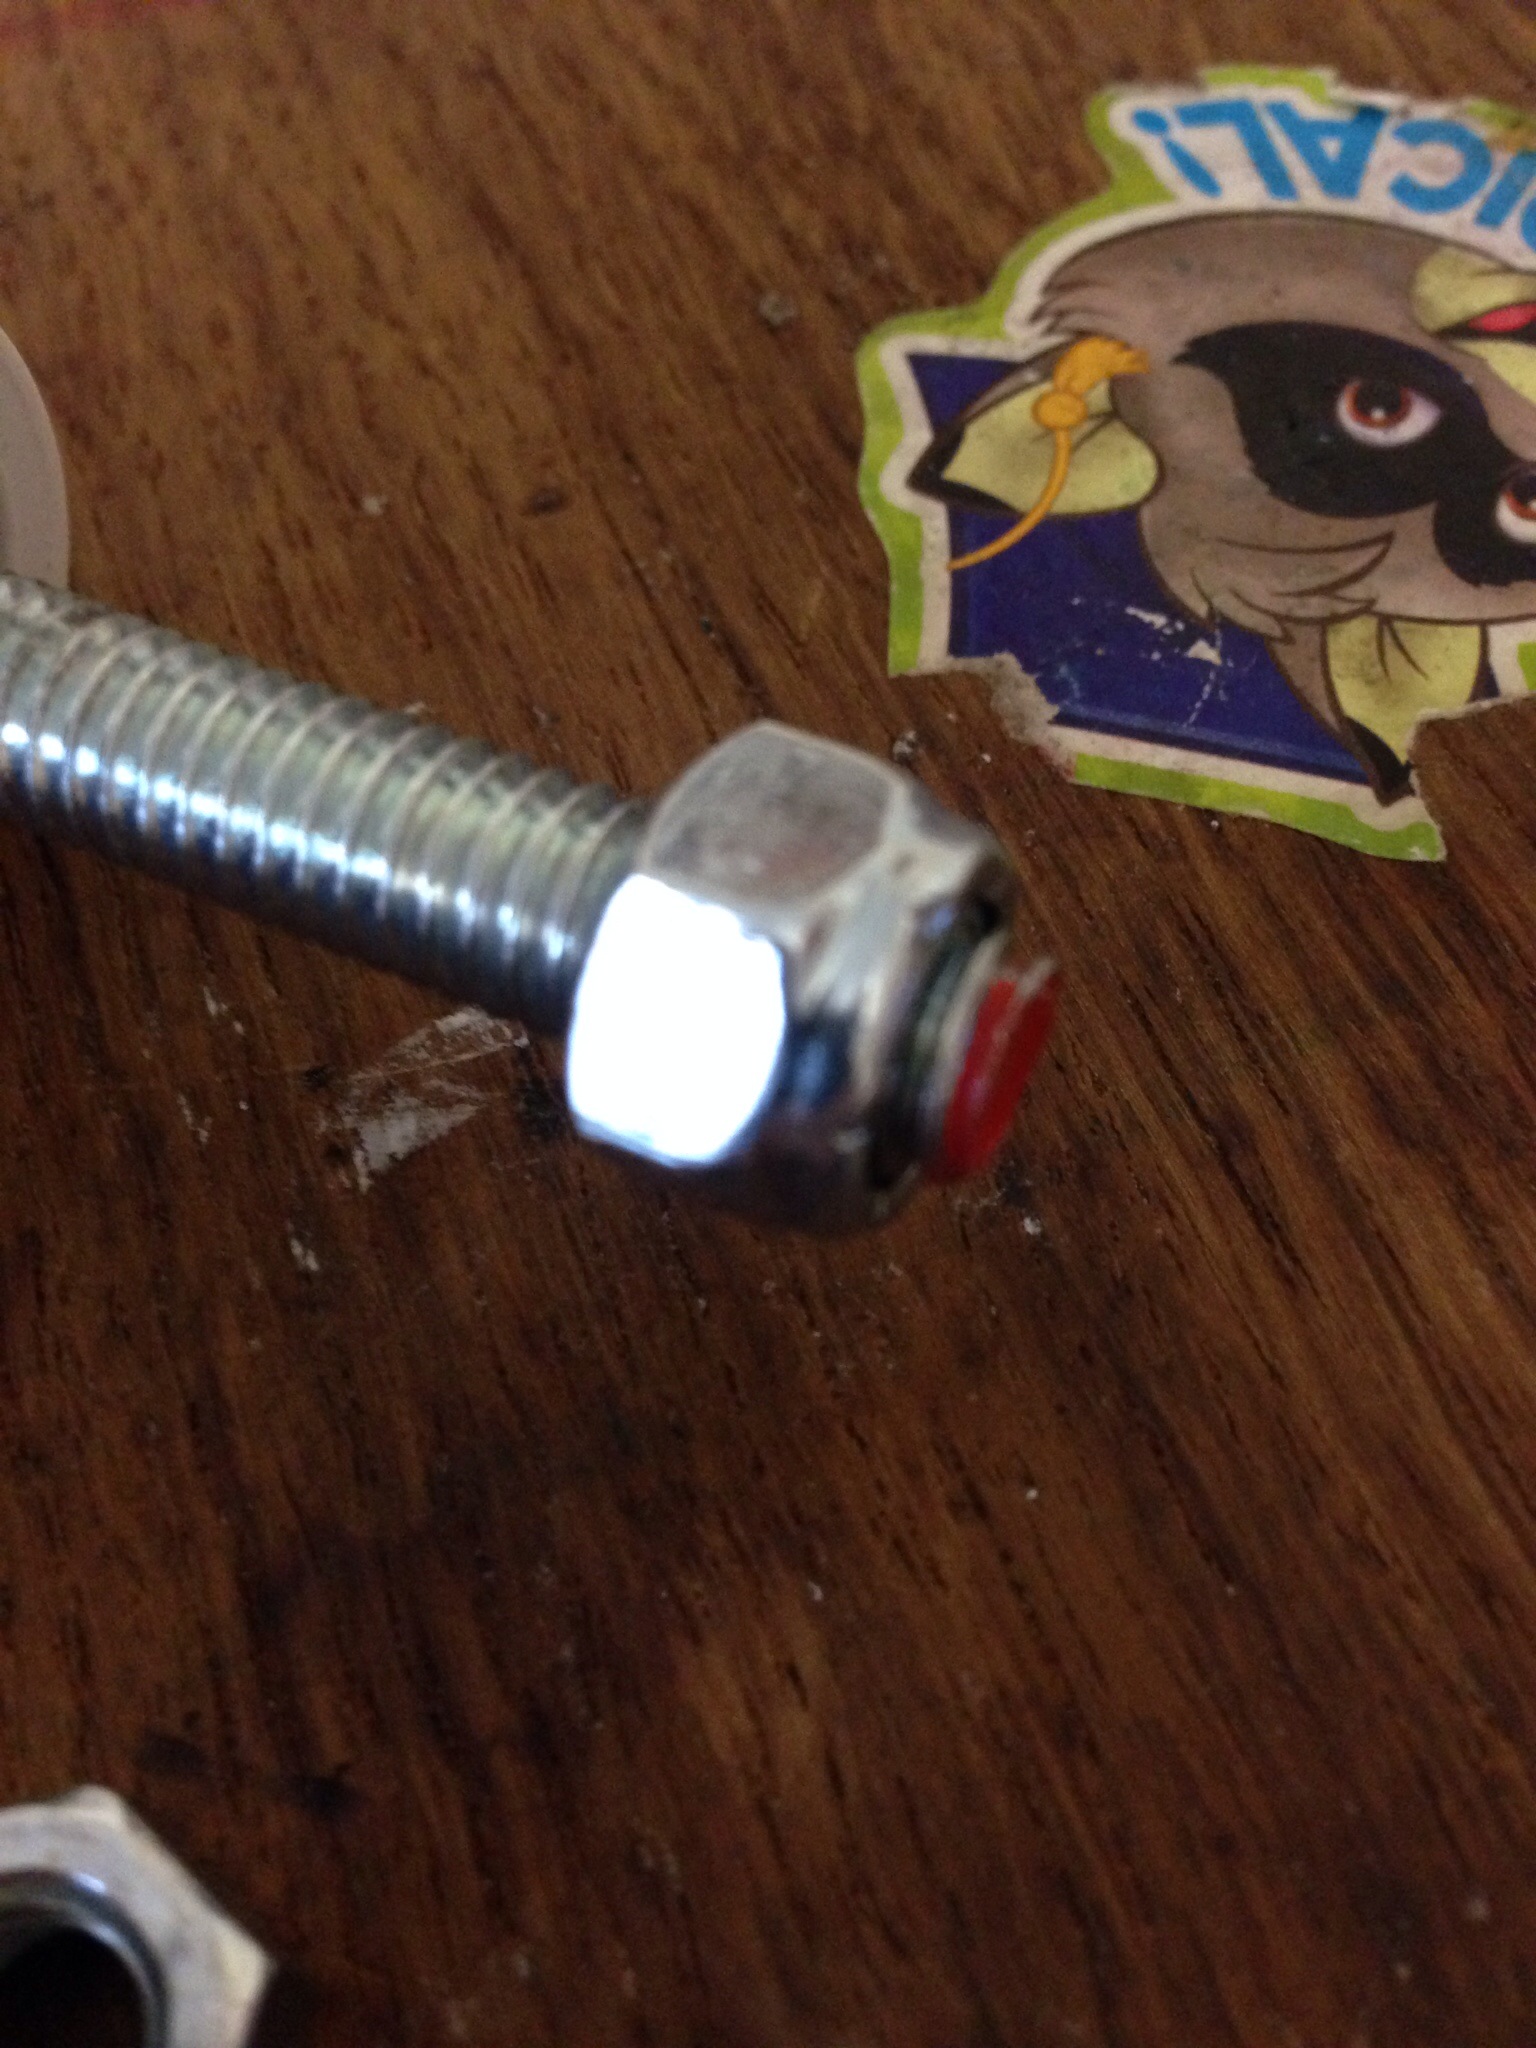
Next we begin to make the shaft. Place a lock nut at one end of your 7/16″ threaded rod.
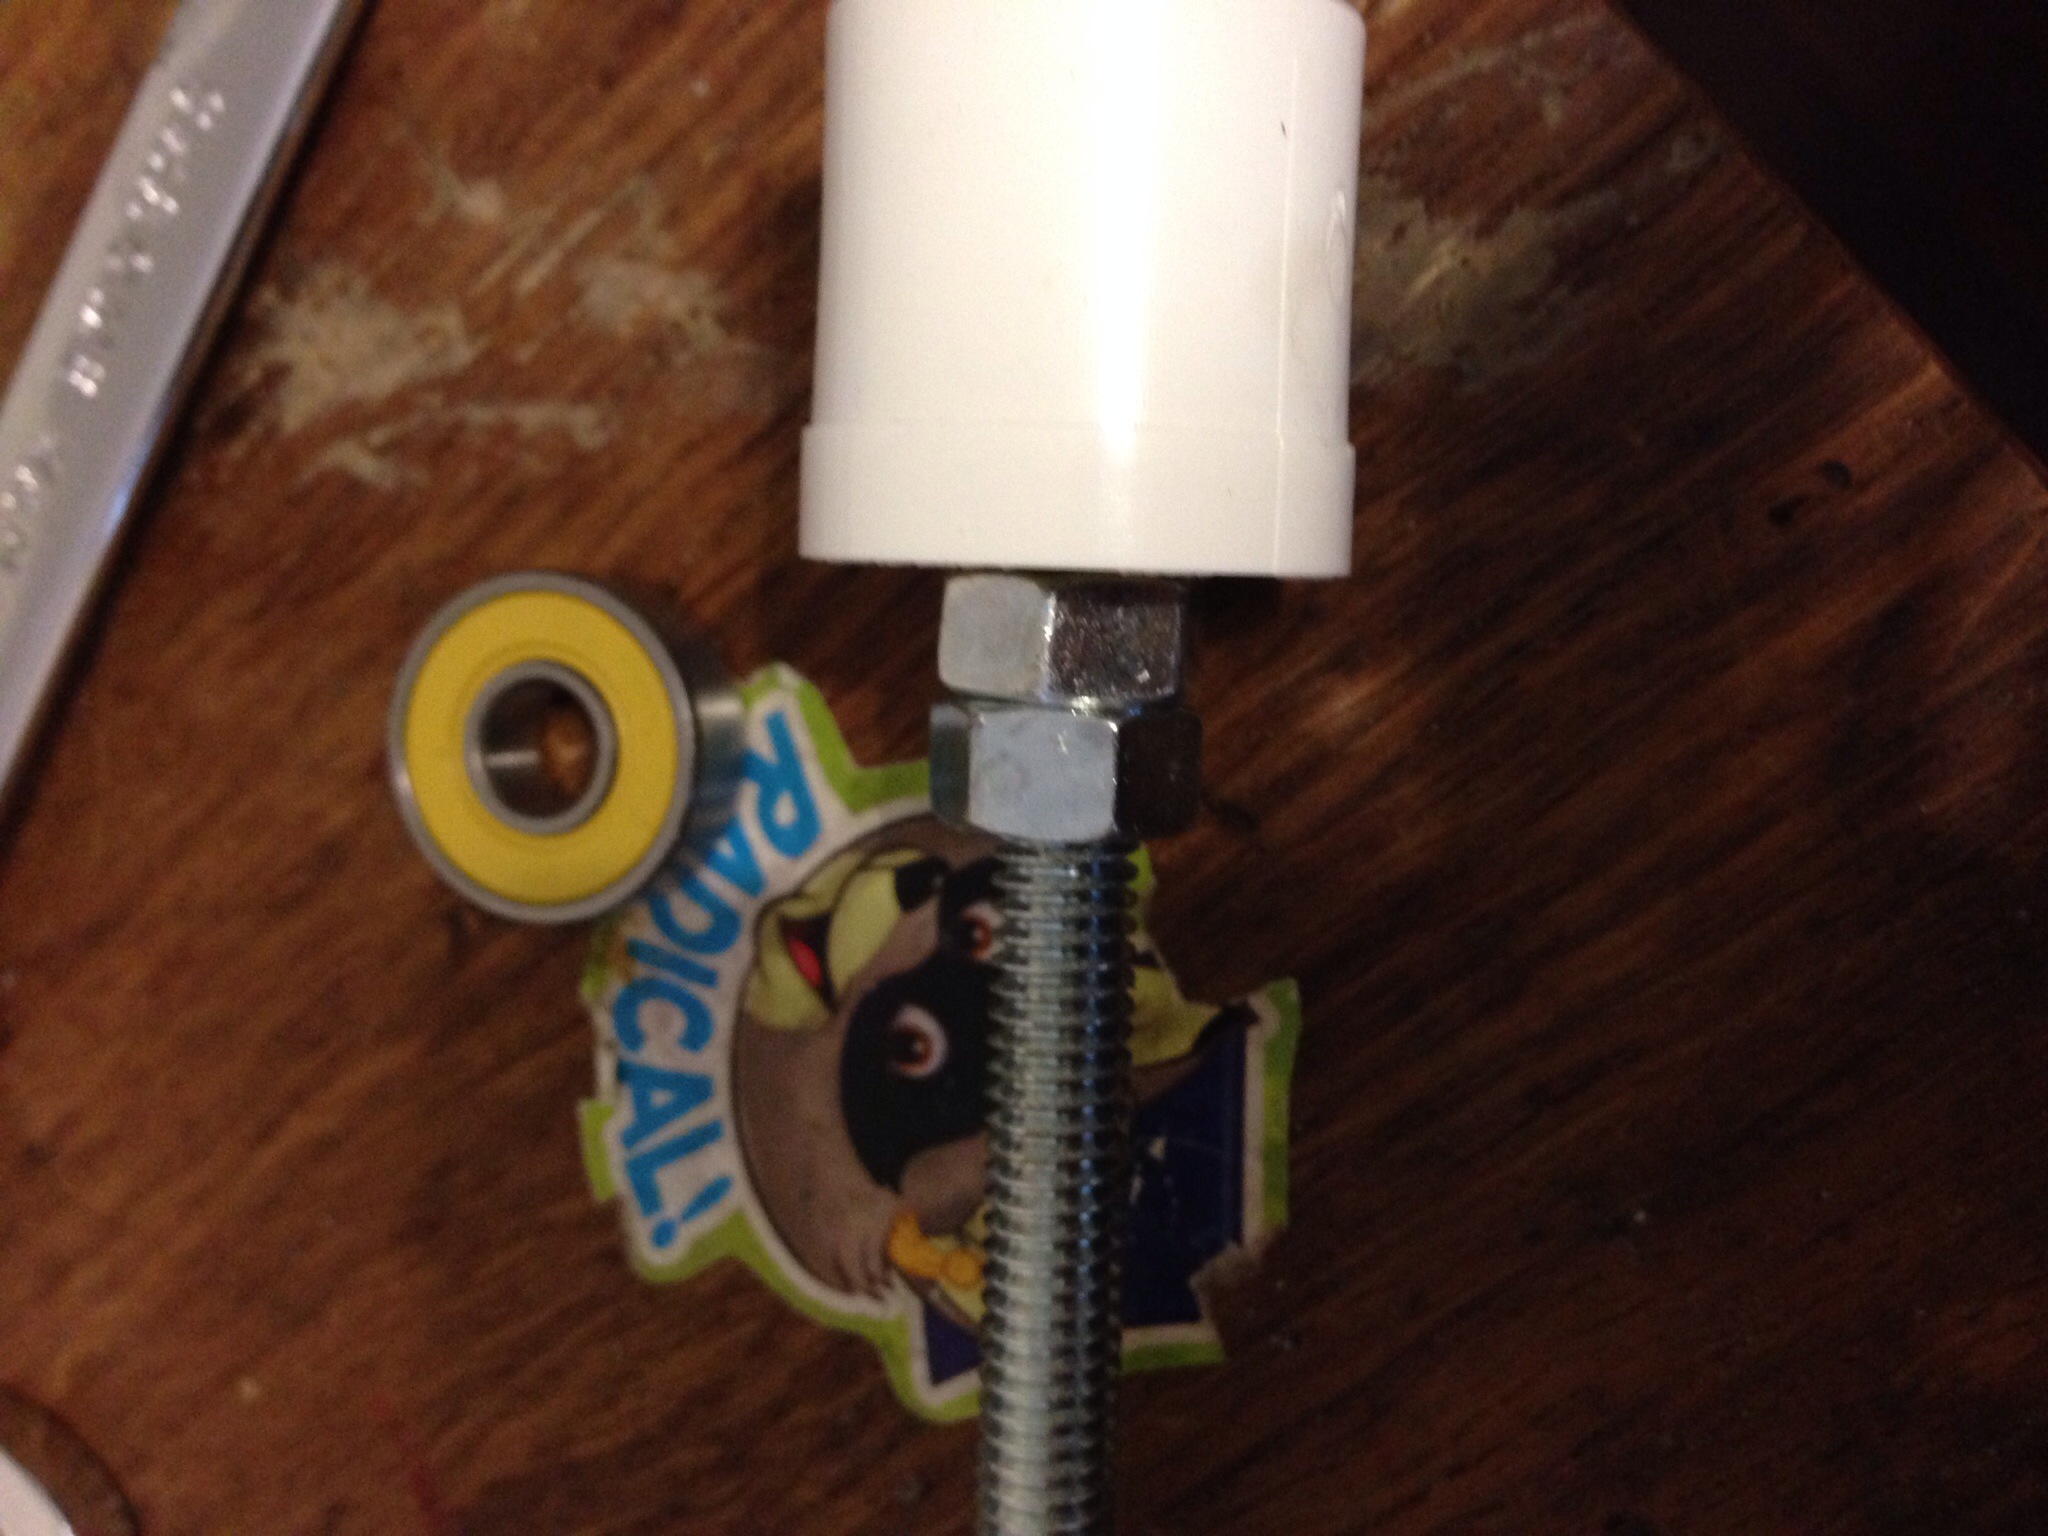
Now place the rod through the bearing so that the lock nut is inside the bushing. On the other end of the threaded bushing, you’ll need two nuts. The first nut will need to hold the rod against the bearing, but not so tight that the rod will not spin. The second nut is to make sure that the first nut doesn’t move. (Work the first nut down to a list past the tightness to the bearing you need, then put the second nut on. Tighten the second nut while loosening the first to get it good and locked.)

Now comes another difficult part. You’ll need to put a hole for the rod in the exact middle of the 1 1/2″ PVC cap. I think I went through 5 caps before I got it right. (A drill press is your friend). You also need to place two holes in each of the ladles so that your small screws will fit. (These are stainless steel, so go slow! It’s fairly difficult to drill through it) Make sure they are in the center of the handle and that you have the center line marked the same for each spoon. The other piece of this step, you’ll need to bend the handles of the ladles so that they are perpendicular to the ladle. (The come kind of curvy)

Showing the center lines and the bent handles.
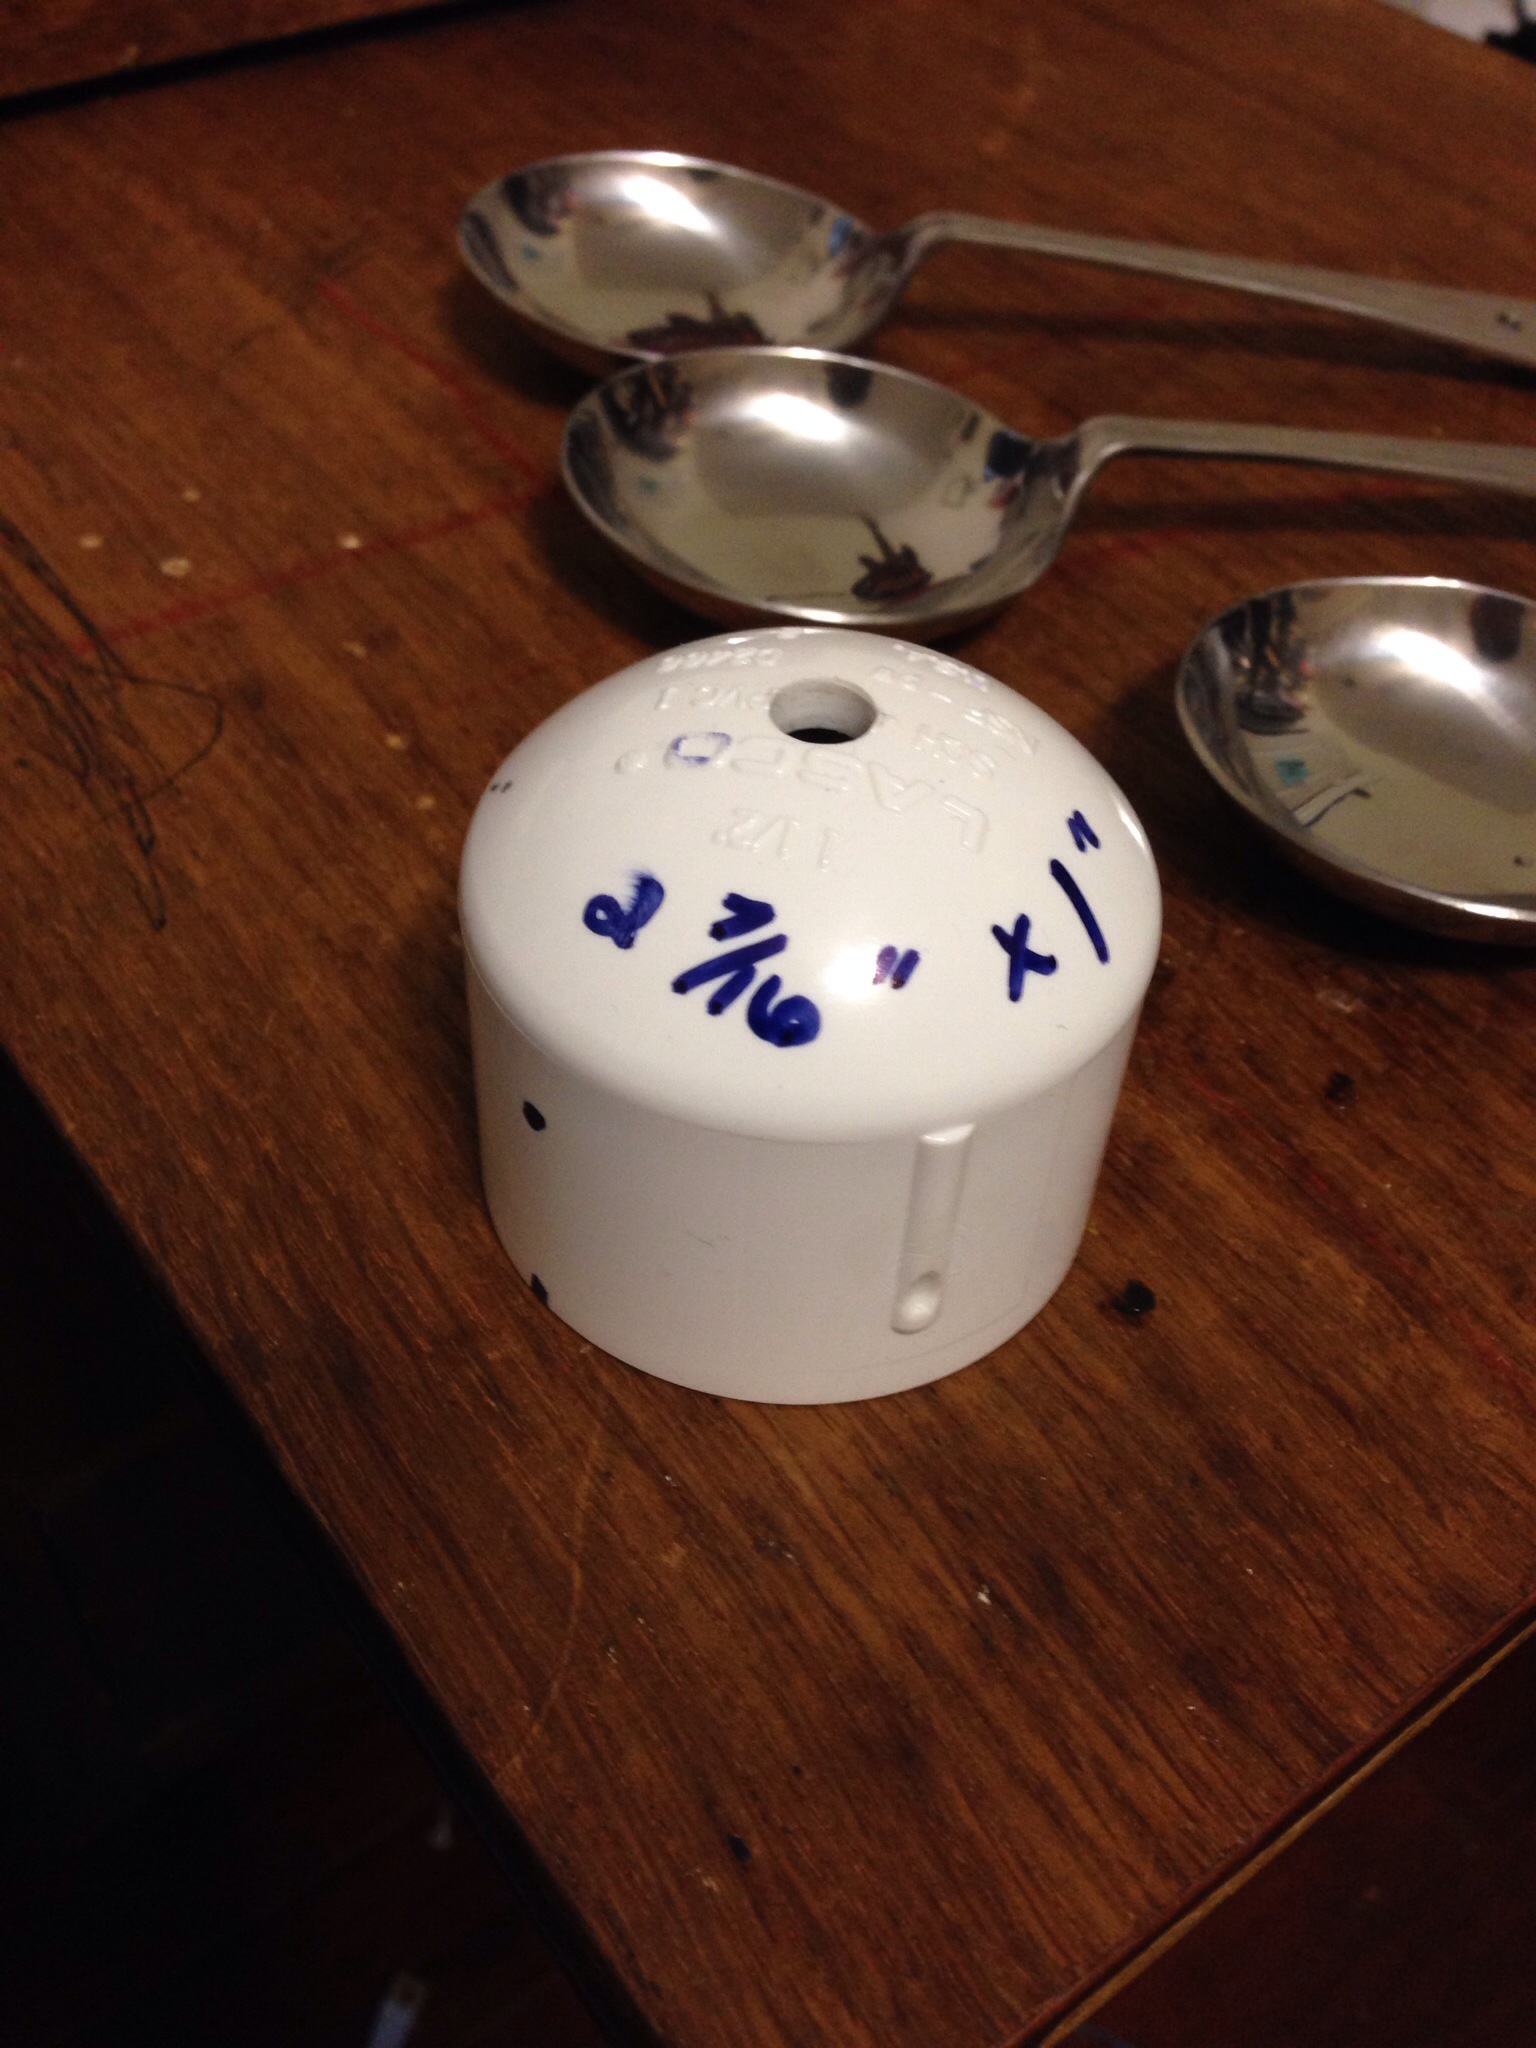
To attach the ladles to the PVC cap, you’ll need to mark and drill 3 holes. They need to be 2 7/16″ from each other and 1″ from the bottom of the cap. (Using a soft sewing tape measure works well for this.
Now here’s where the center line comes in handy. You’ll need to bend the handles of the ladles on this center line as shown.

Now attach the first ladle to the cap and get it level with a table. Mark and drill the hole for the other screw and attach the other side of the ladle to the cap. Continue to do this for the other two ladles. (I used lock nuts to attach these screws.
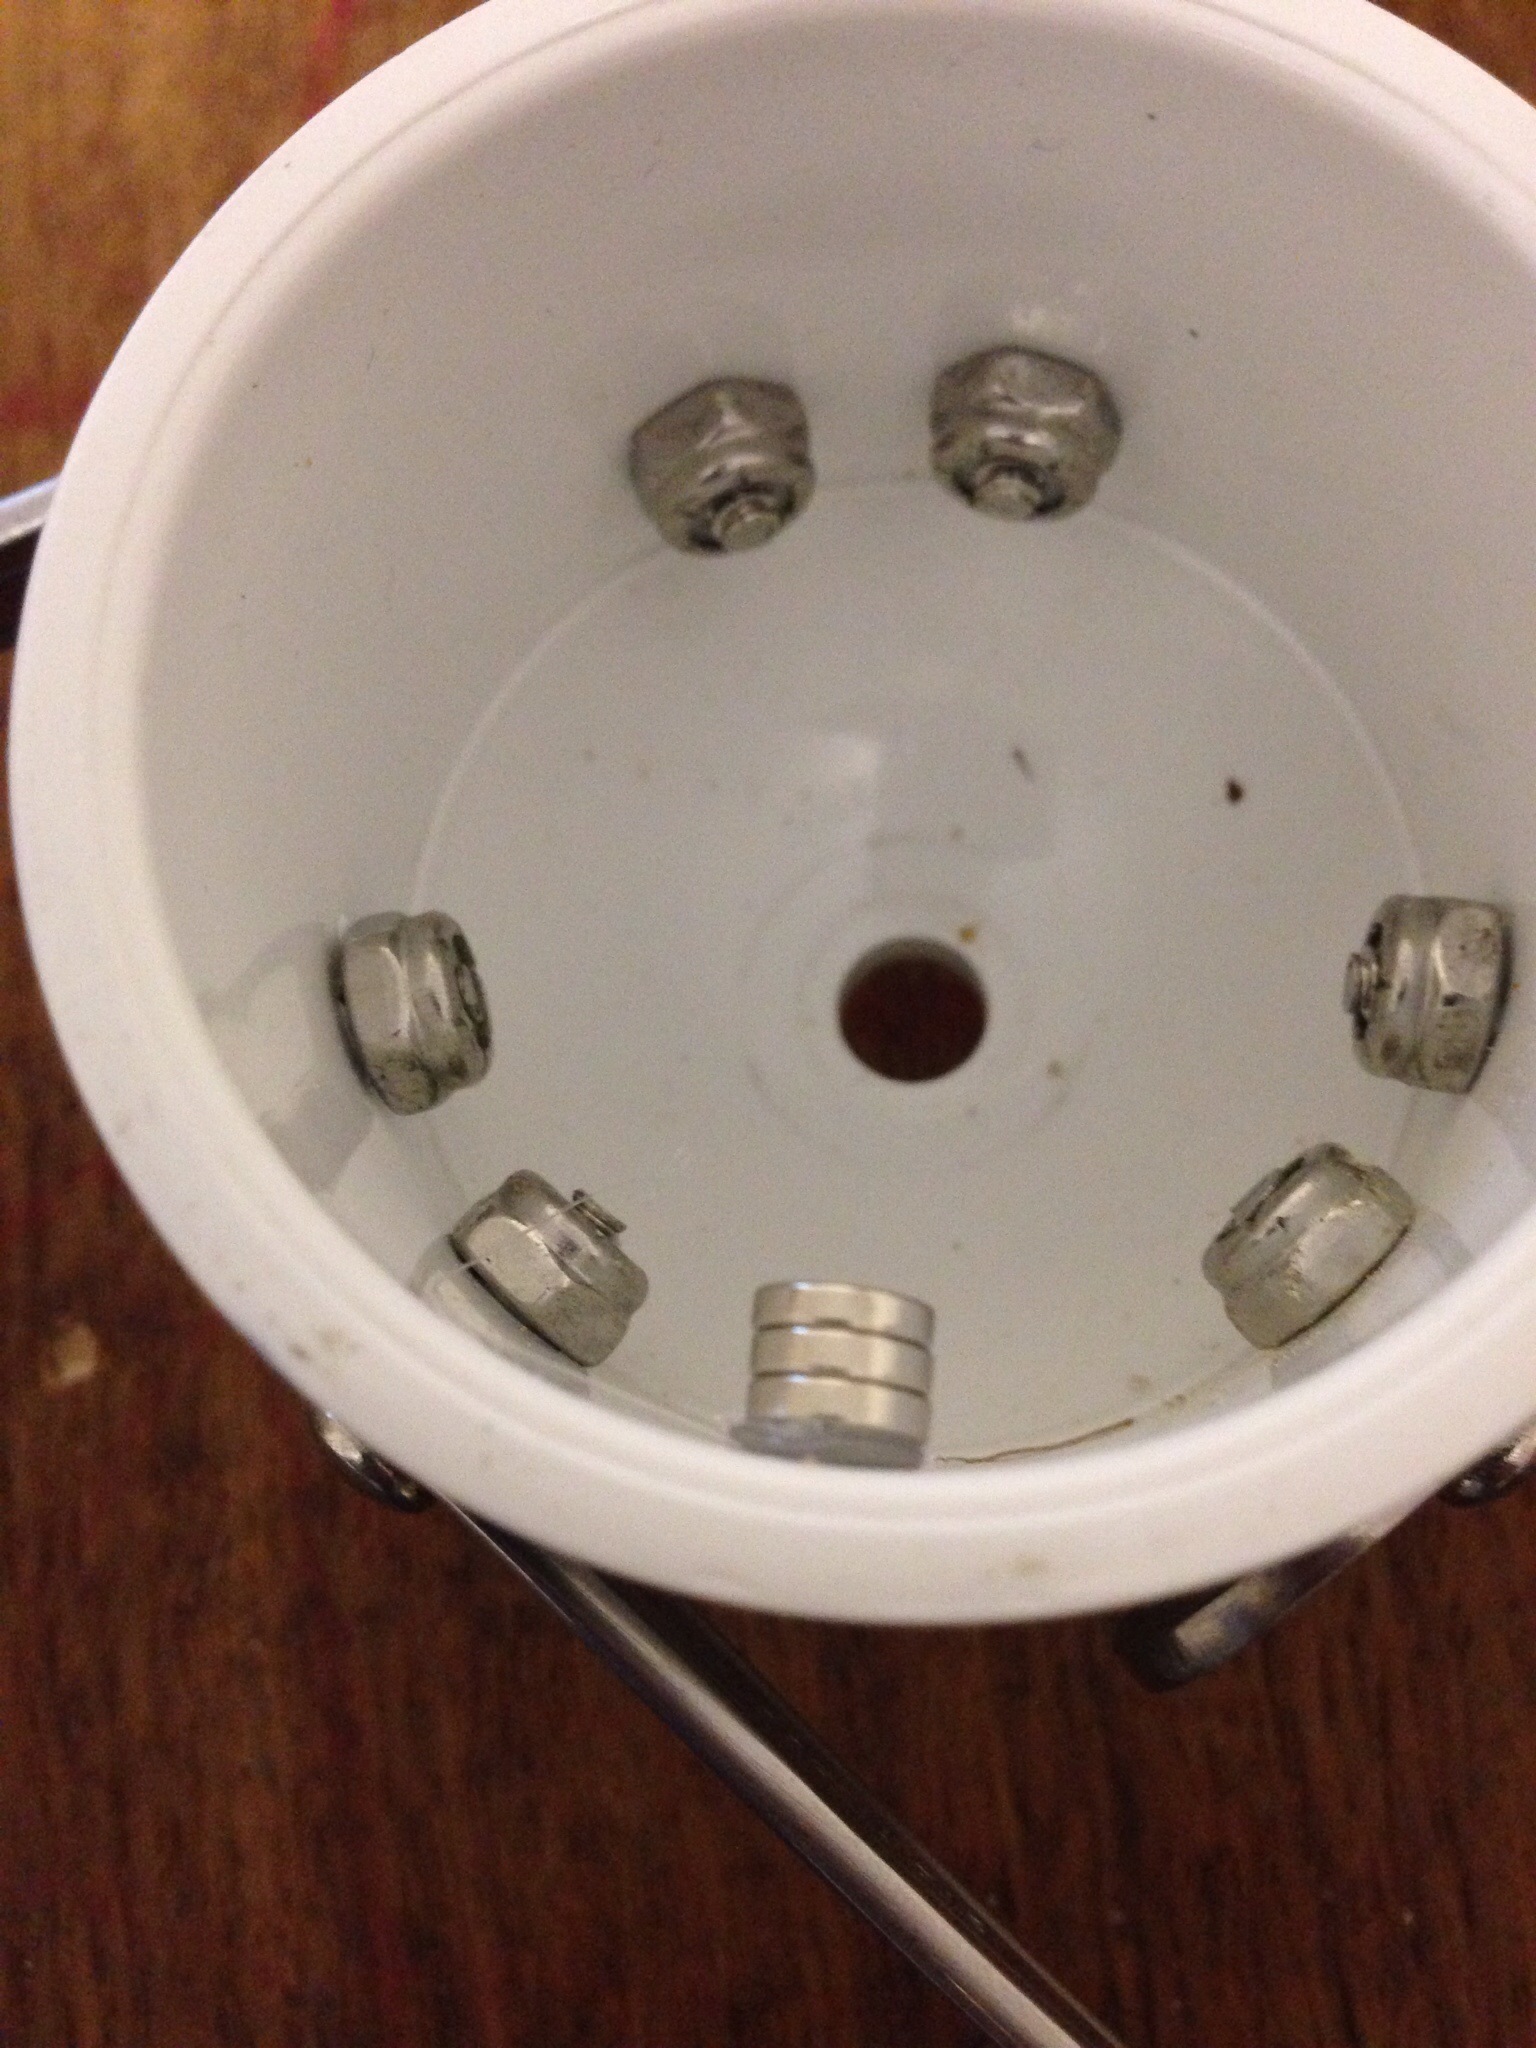
Hot glue your magnet (or 3) inside the cap.
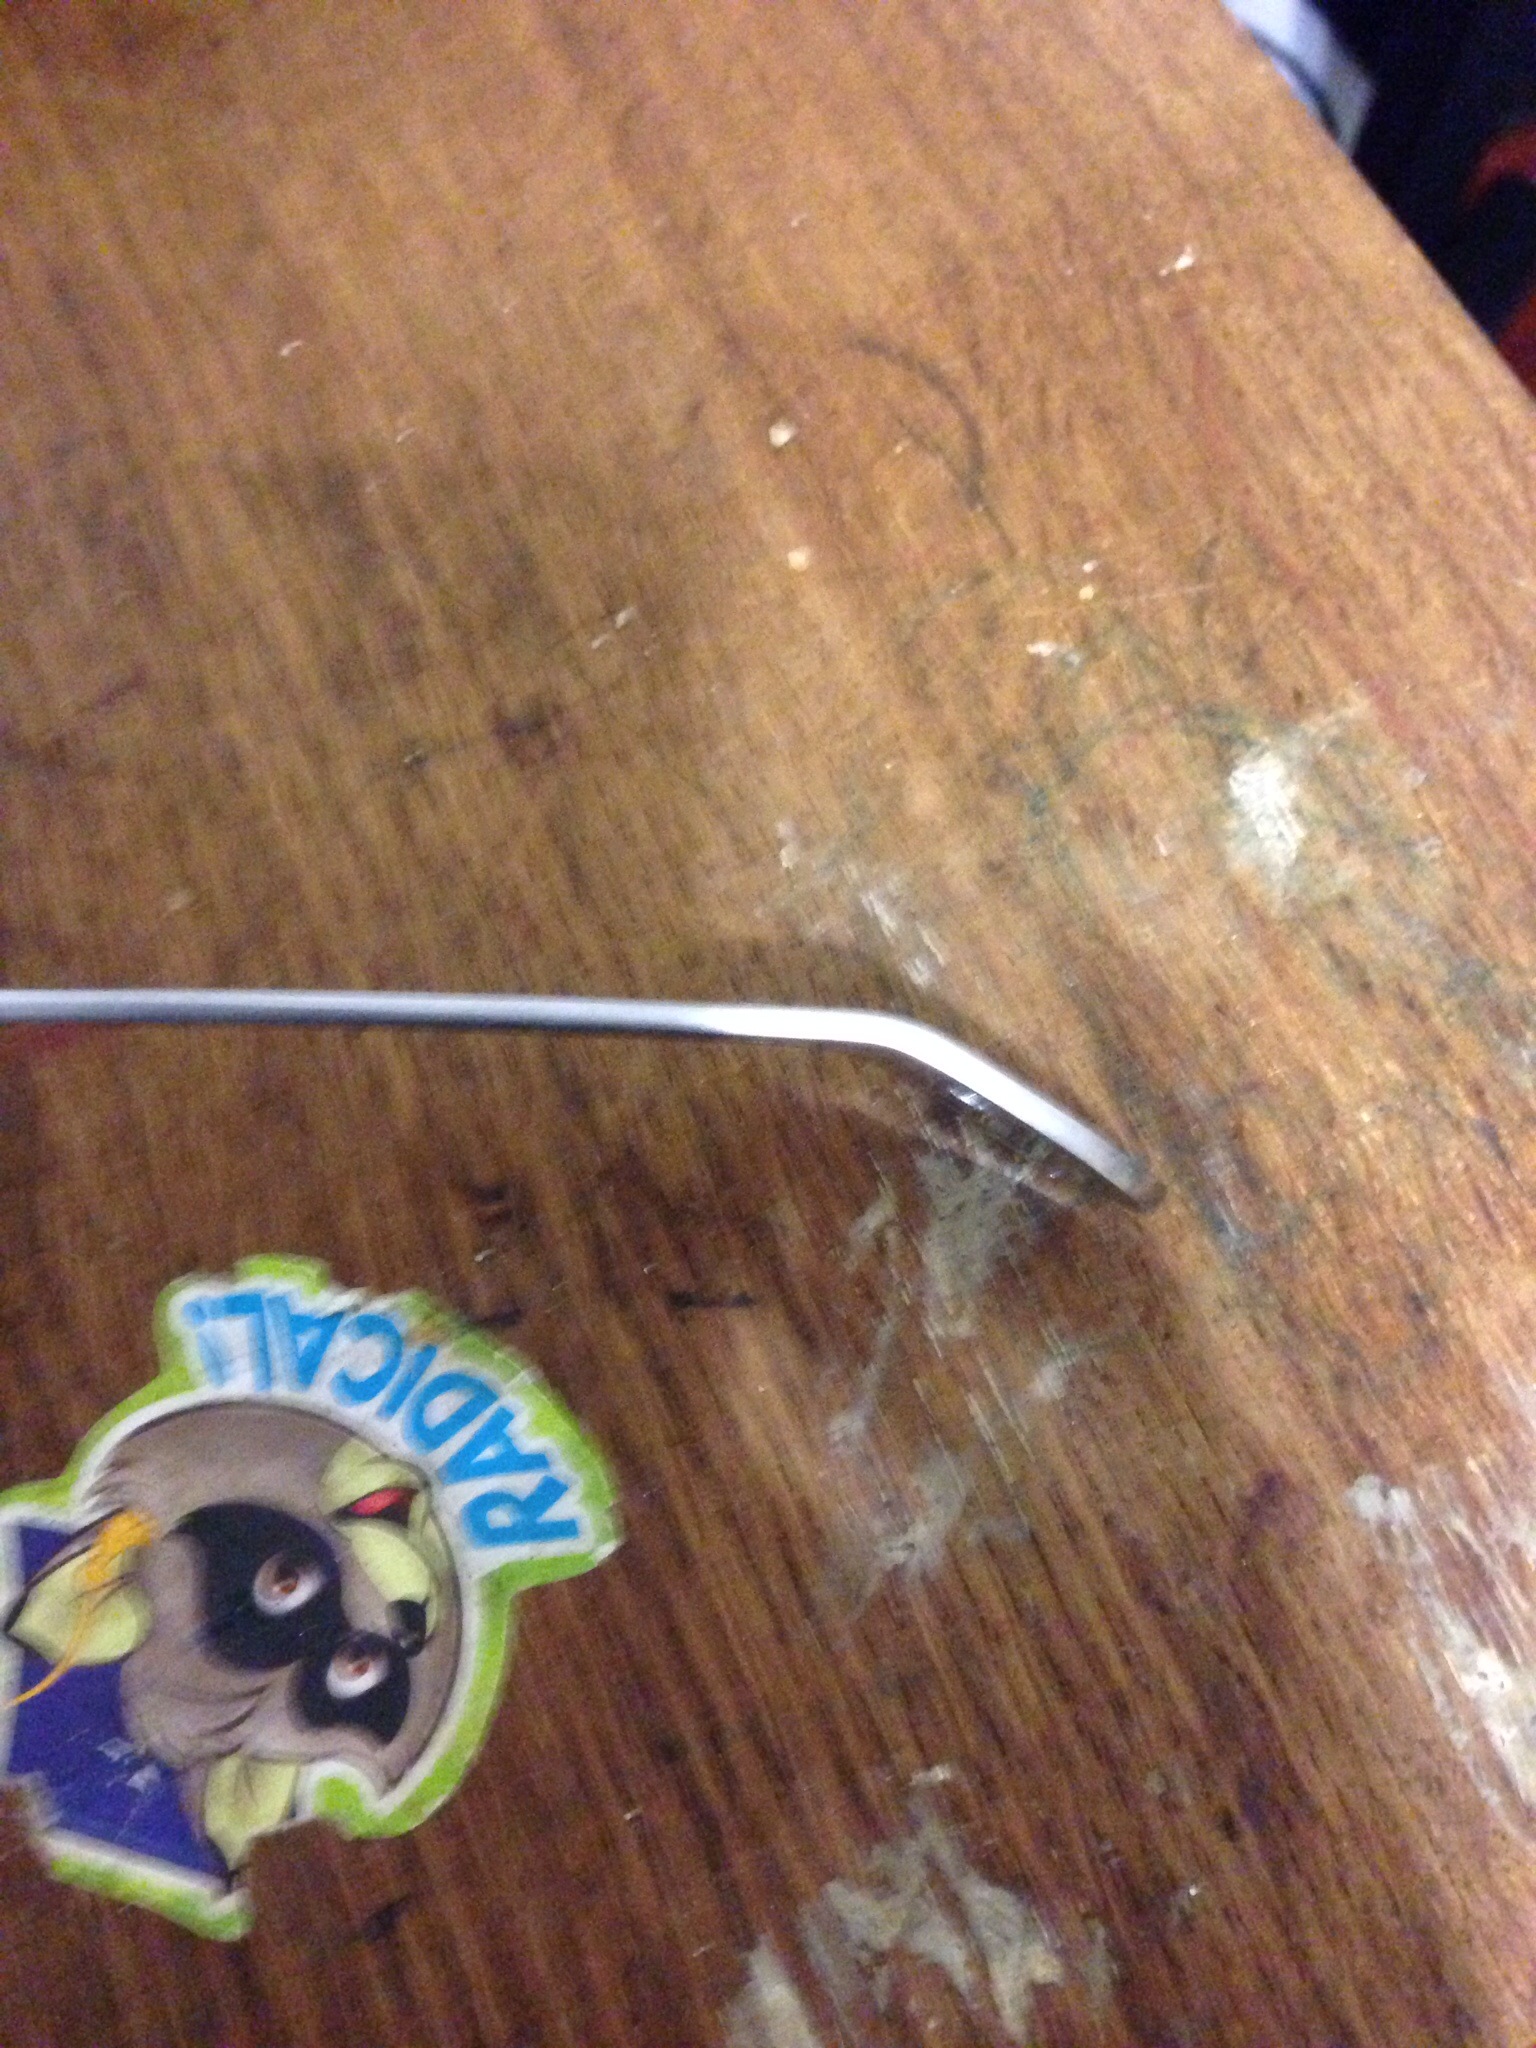
Now for some of the electronics. Take your reed switch and bend one side like shown. Be VERY CAREFUL, these are delicate.
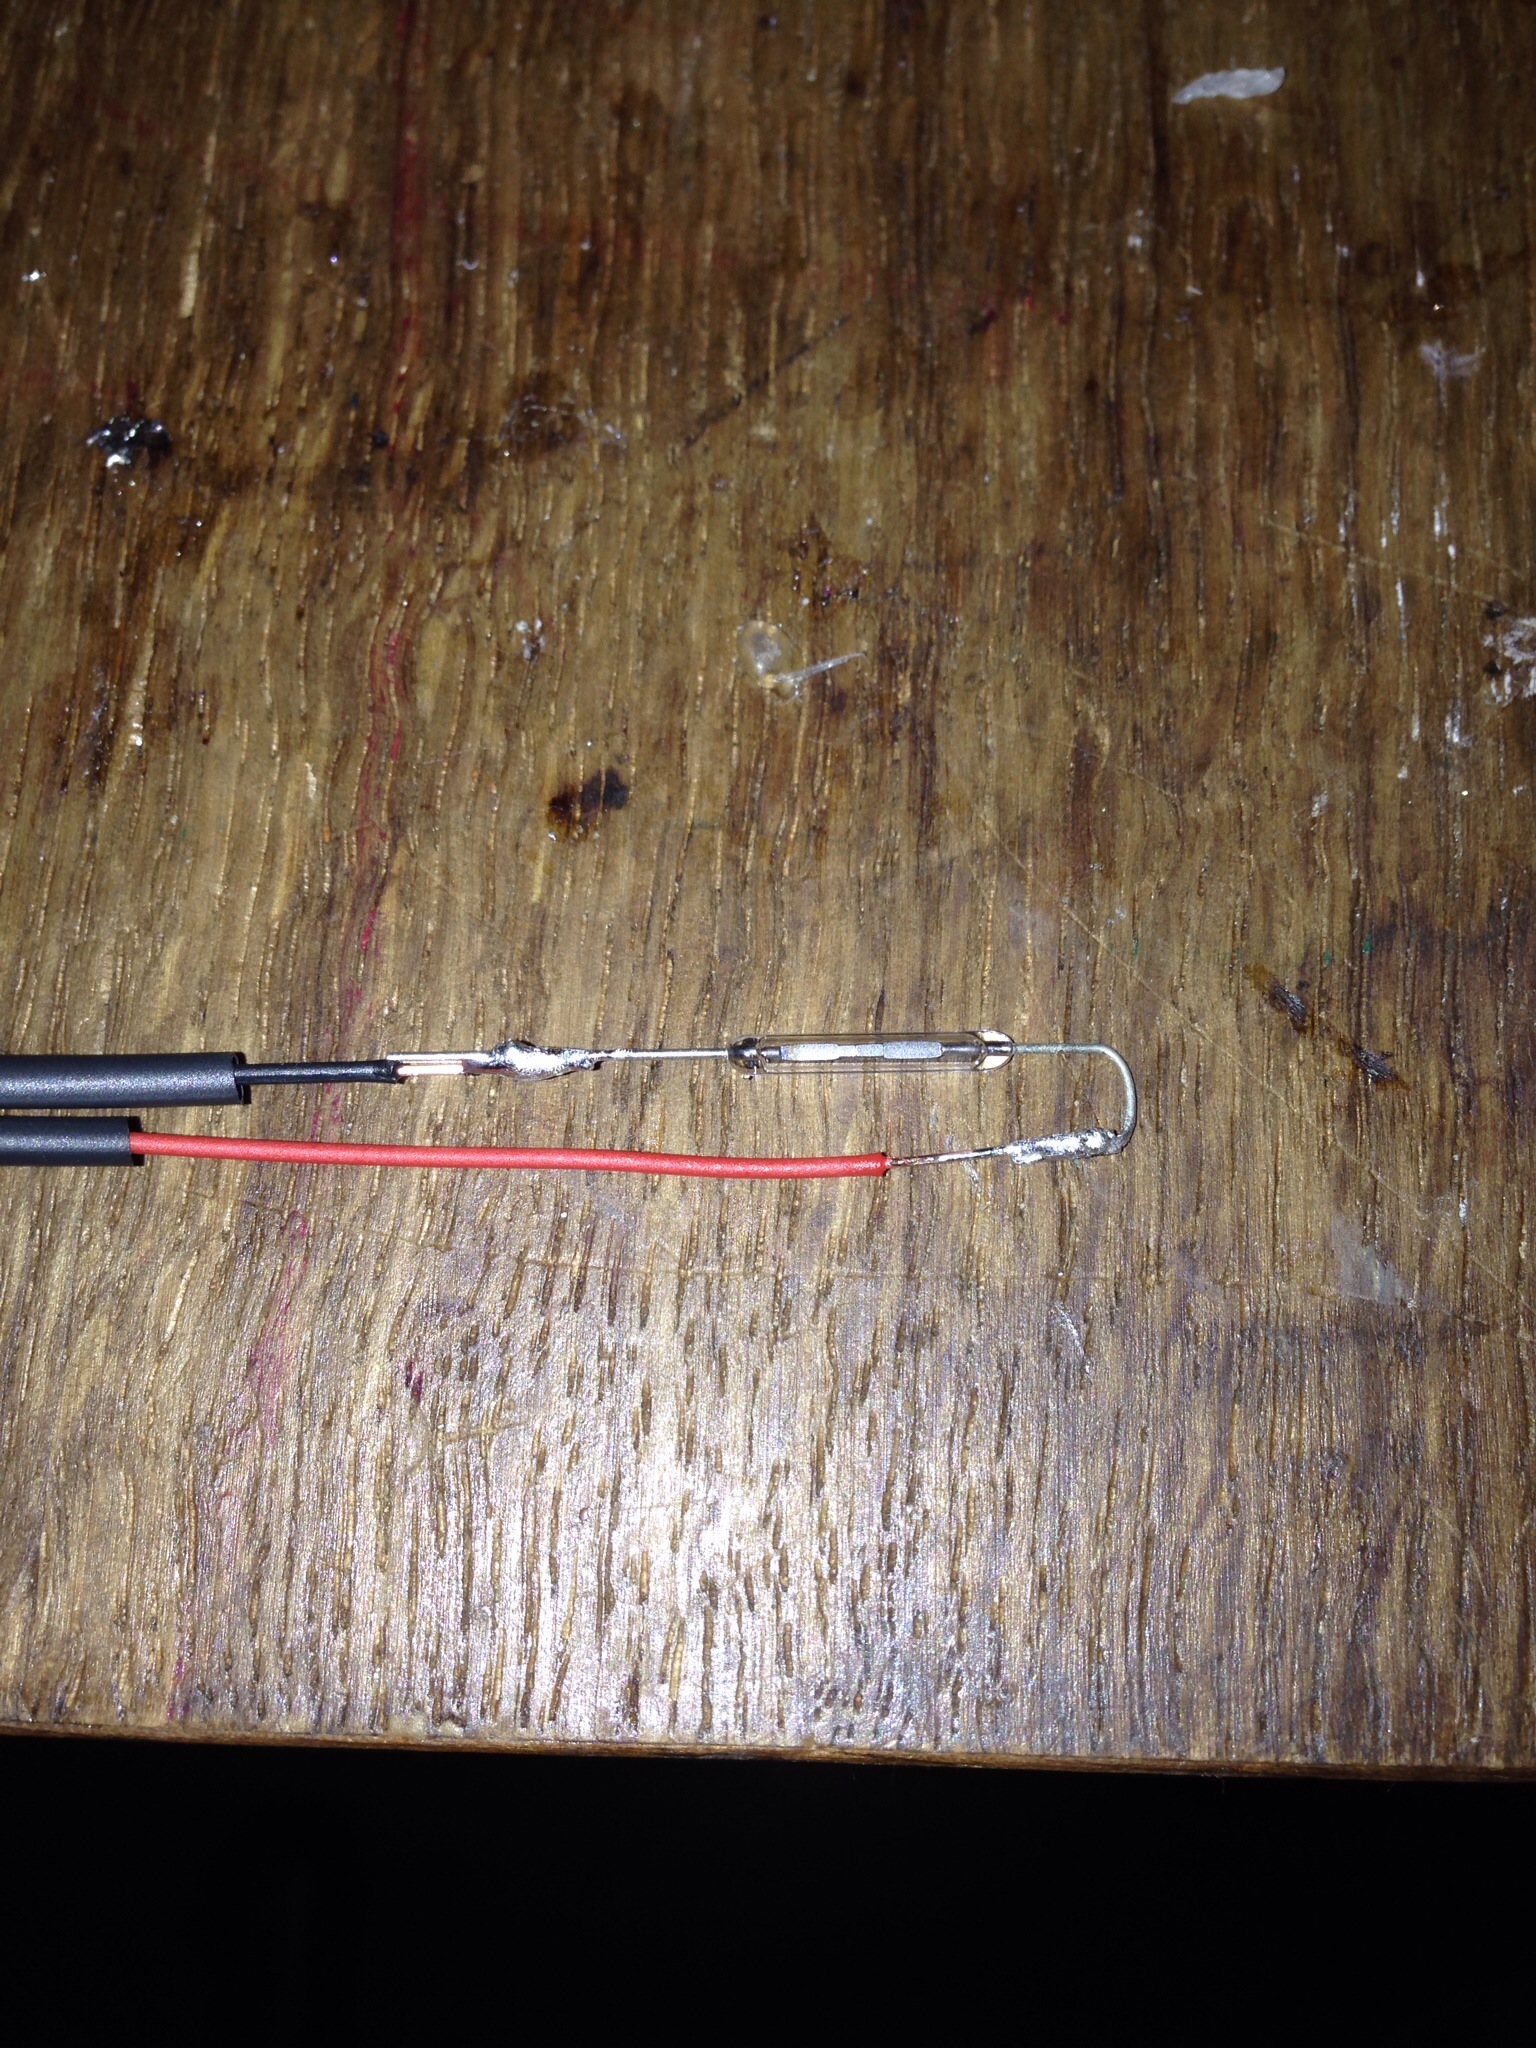
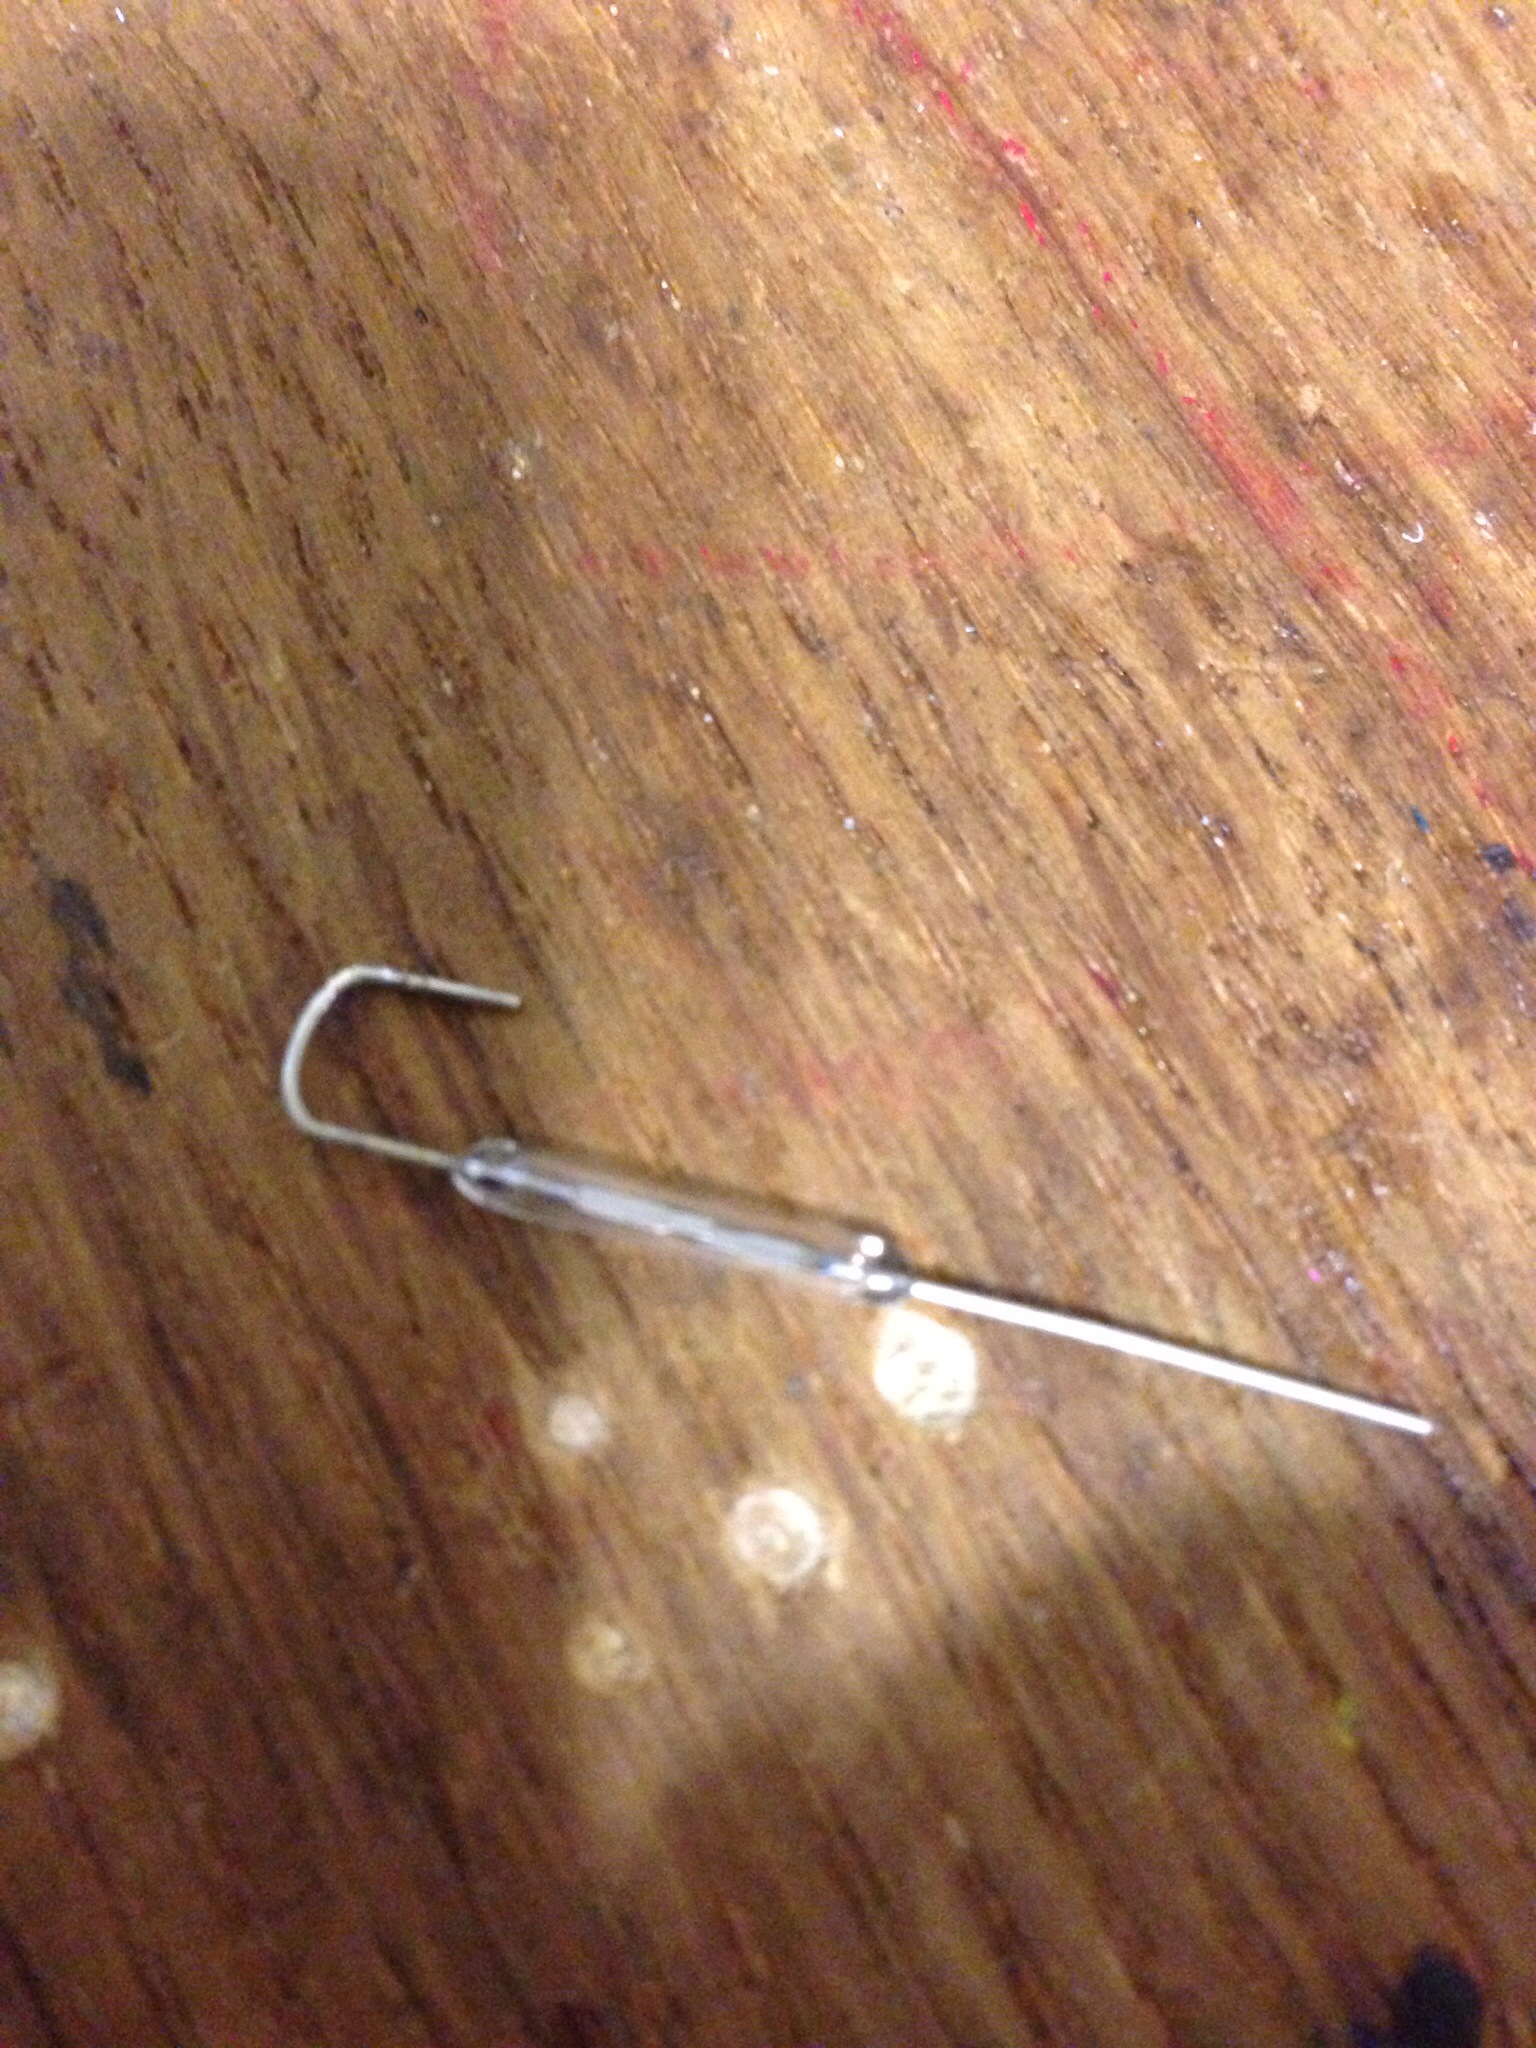
Now solder a wire to each side as shown and place shrink tube over the joints. I have found that you will need water proof this a bit. There are two ways to accomplish this…carefully place shrink tube over the reed switch and seal up the top, or buy these from Sparkfun.
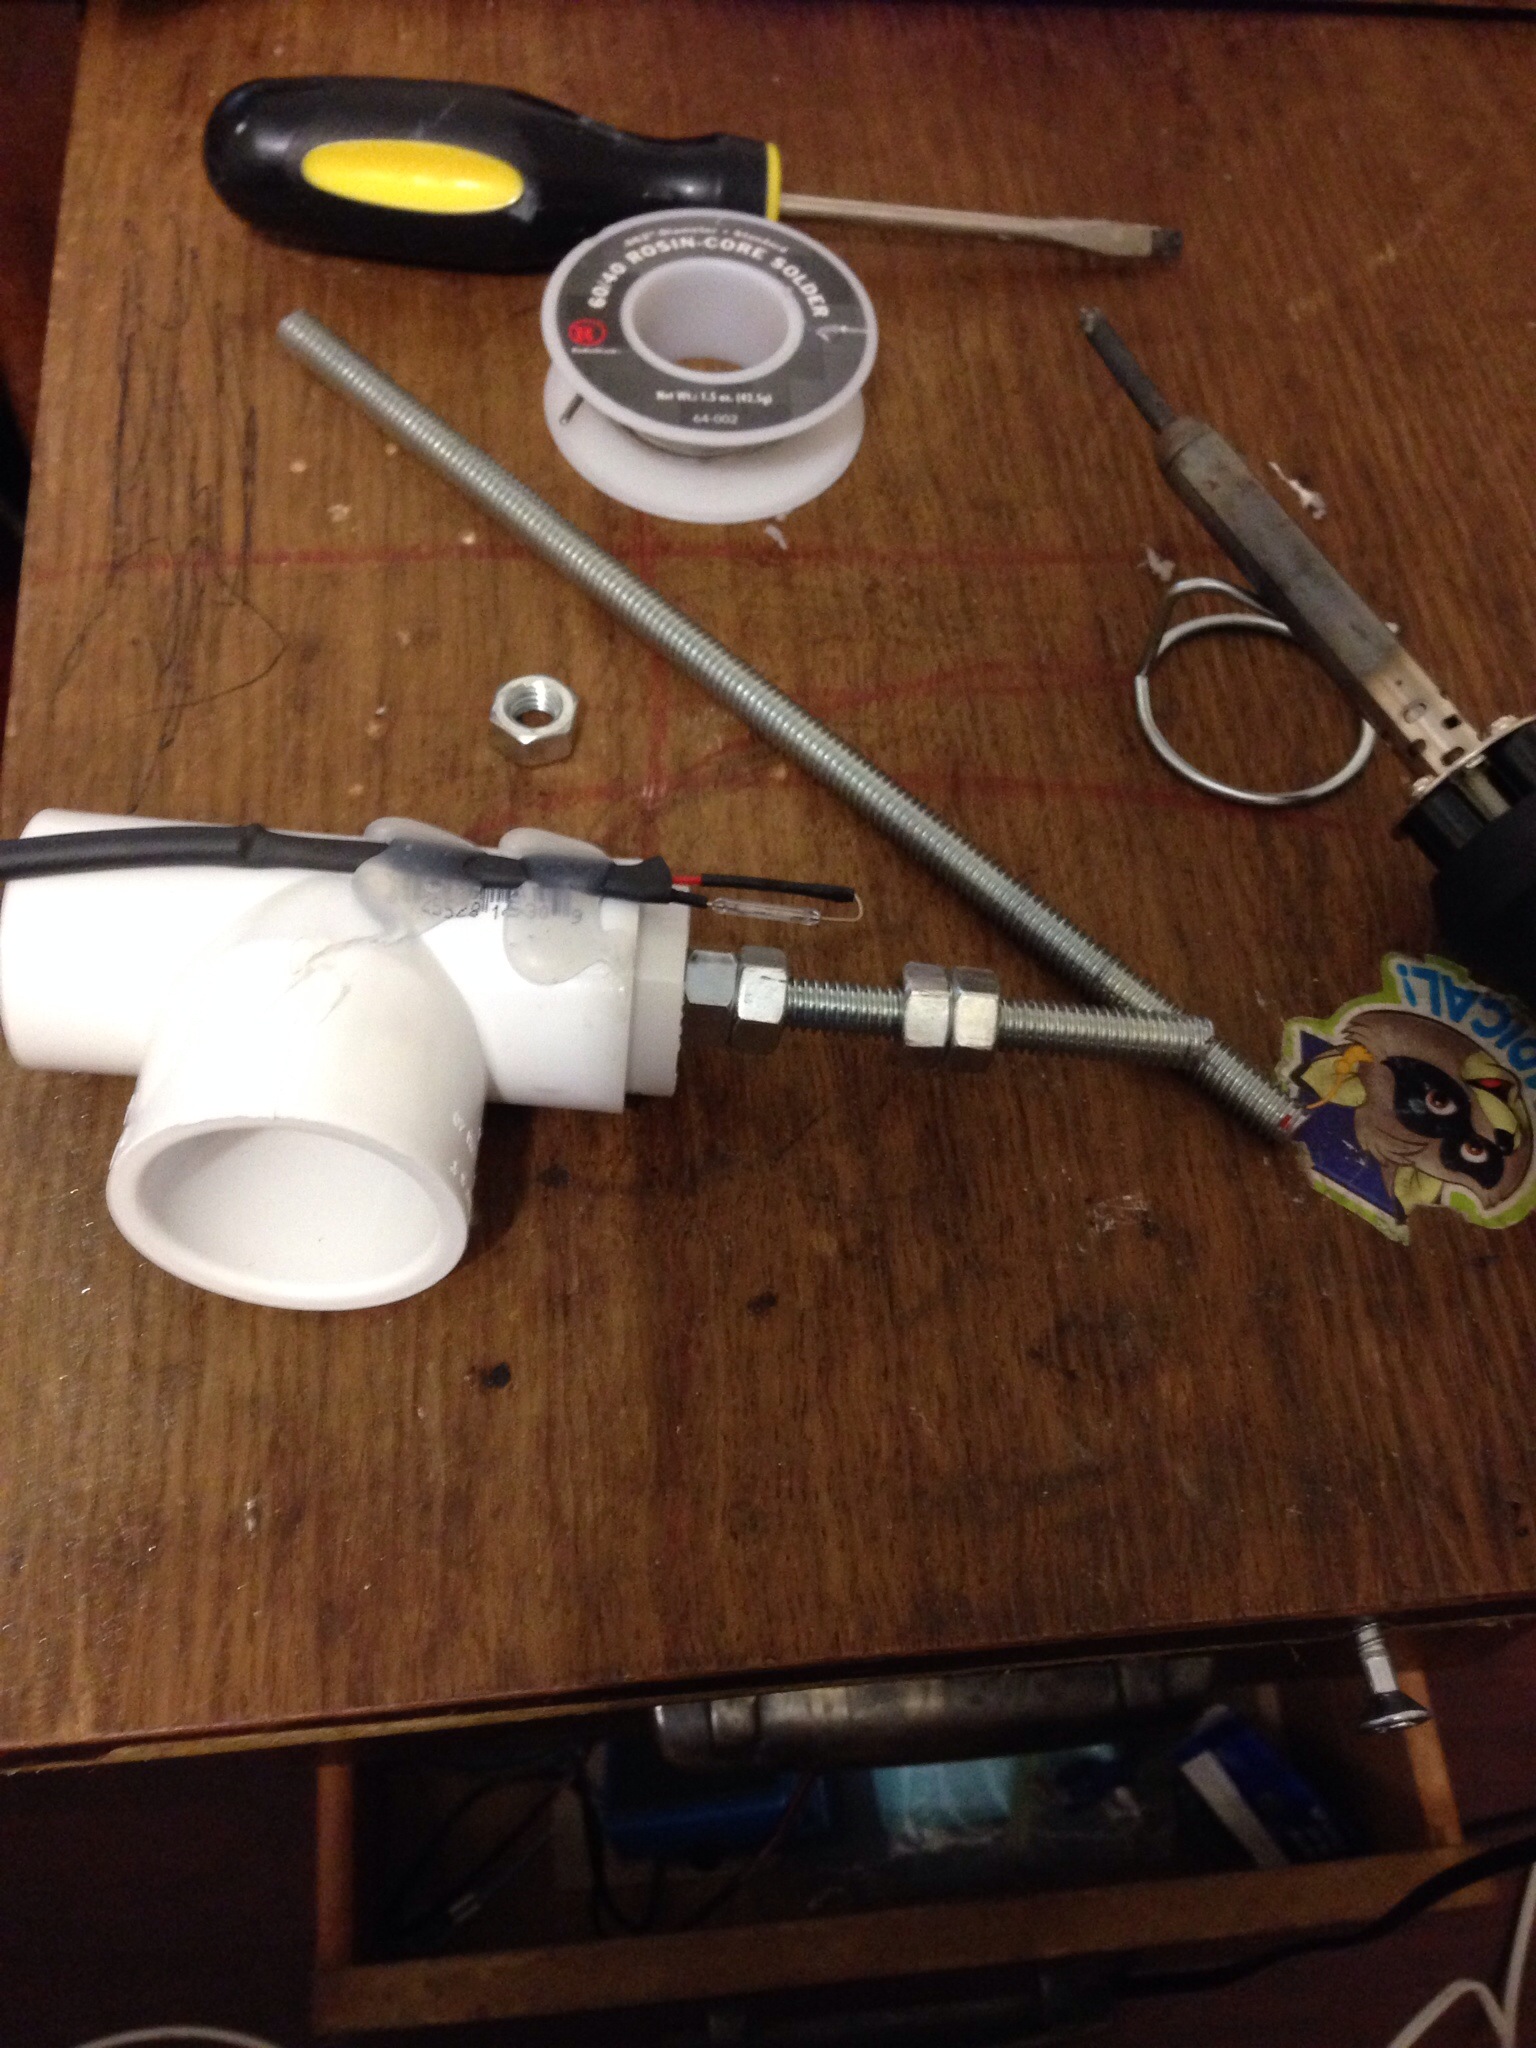
In this step you’ll need to cut your threaded rod to size. Place two nuts (use the locking feature explained earlier) and a washer on the rod and place the cap on. Adjust the nuts so that the magnet would pass over the reed switch when shown attached above. Give yourself enough room on top side of the cap to place two more nuts on and cut the rod with a hacksaw. Be careful not to mess up the threads. (Too much). Next use hot glue to attach the reed switch and wire as shown. Almost Done!
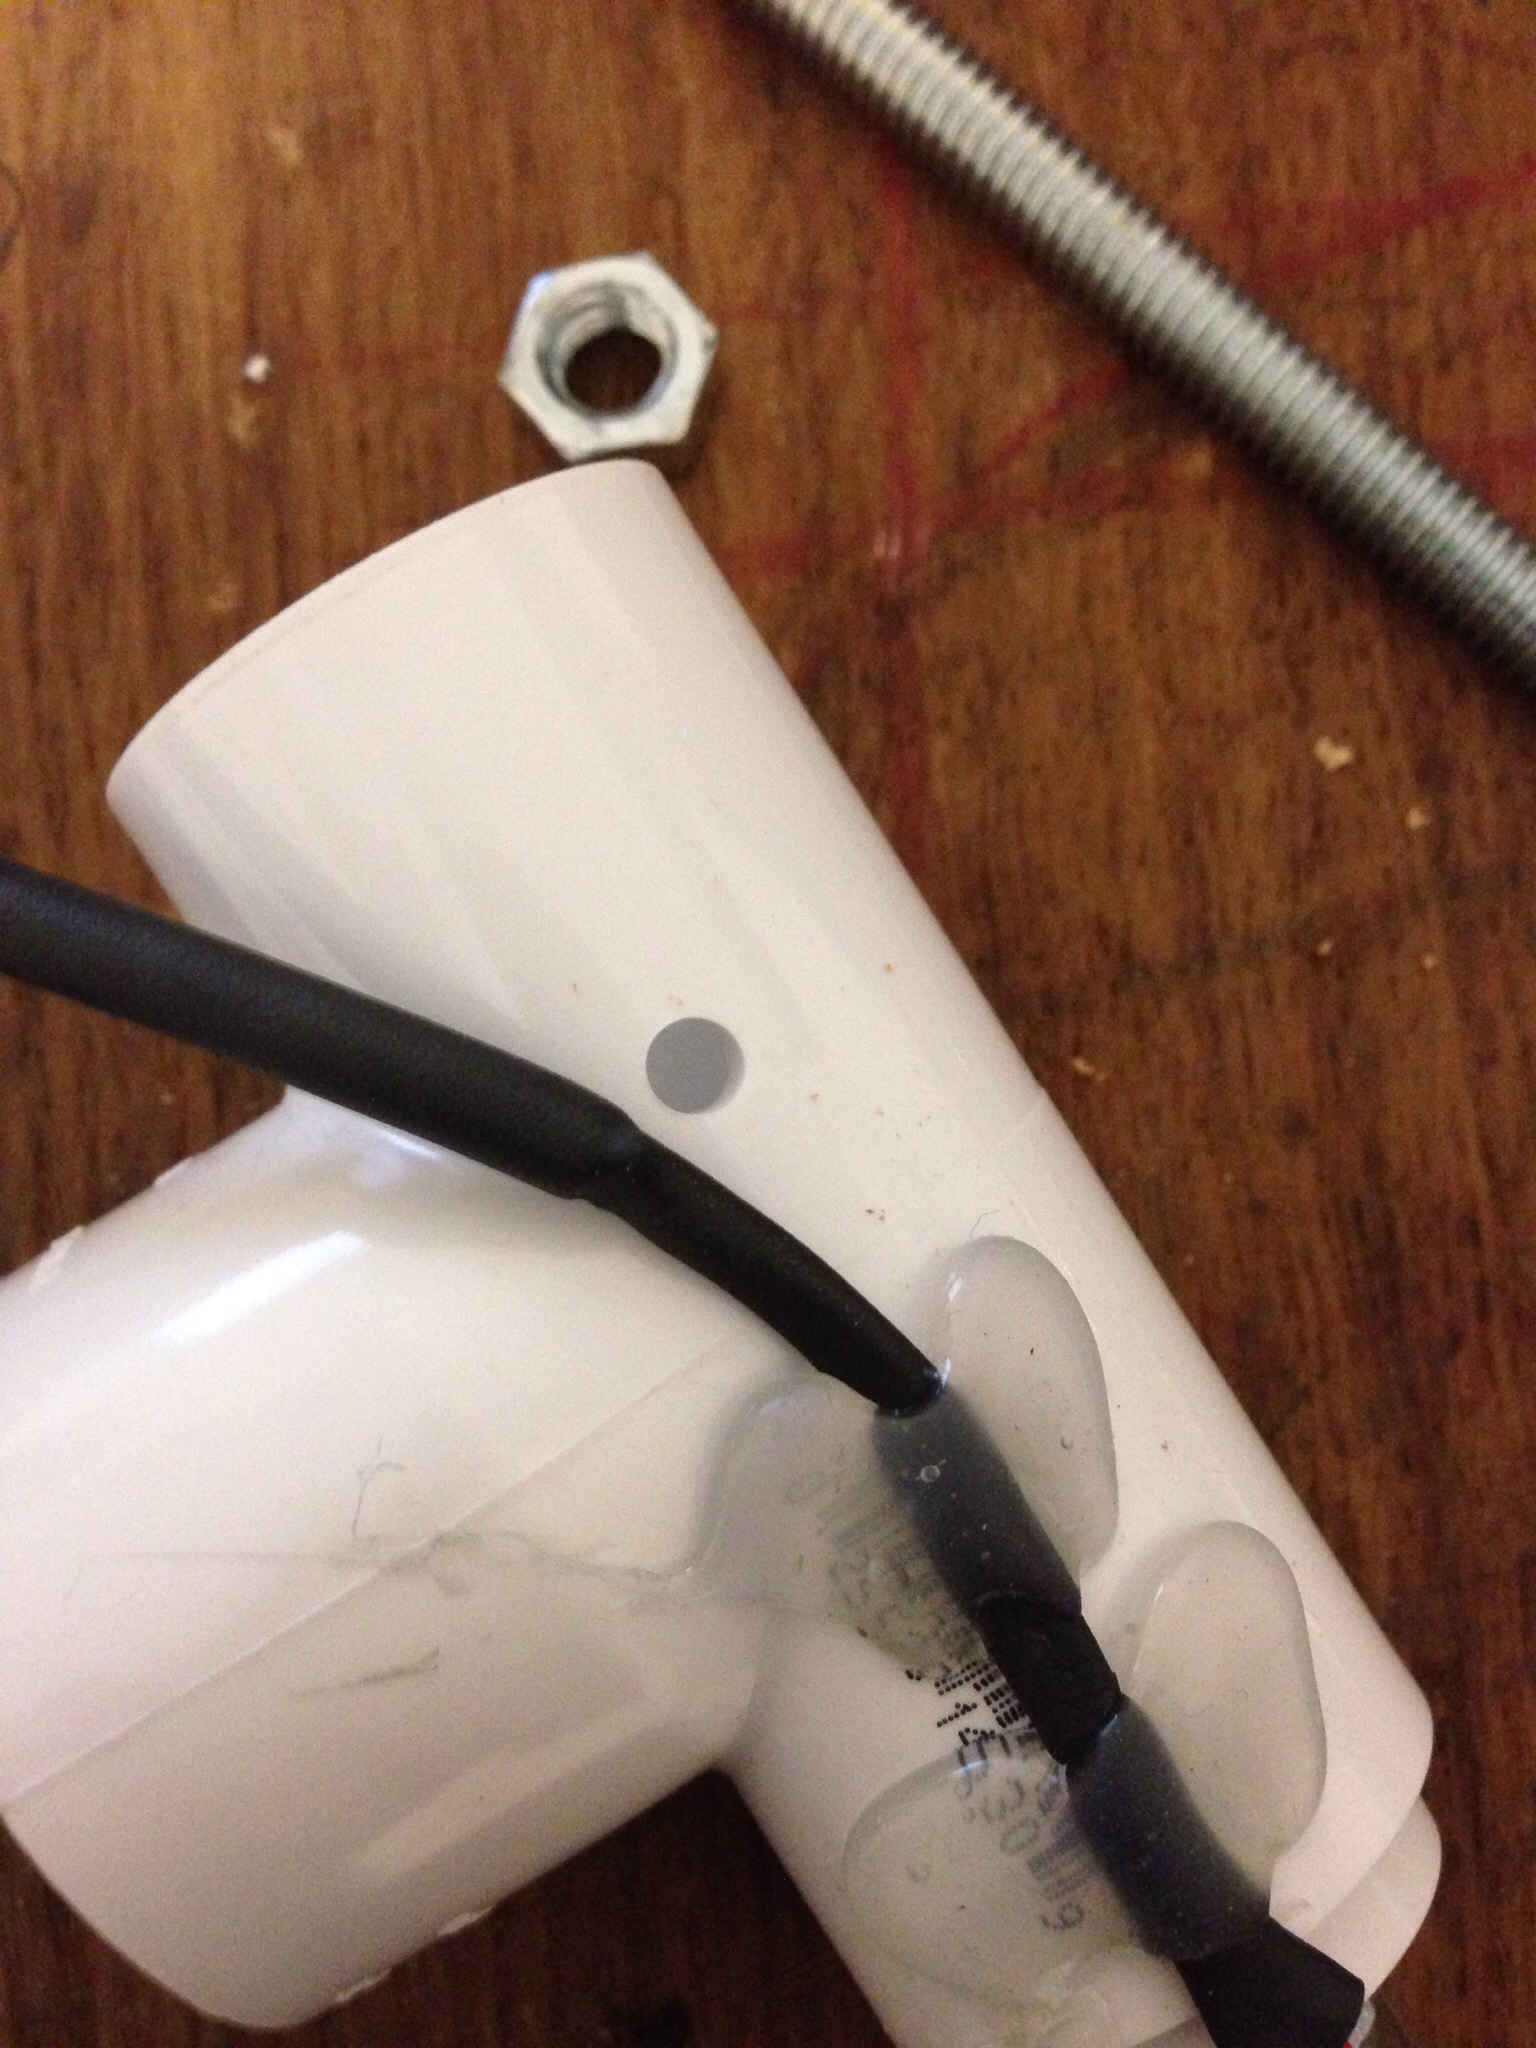
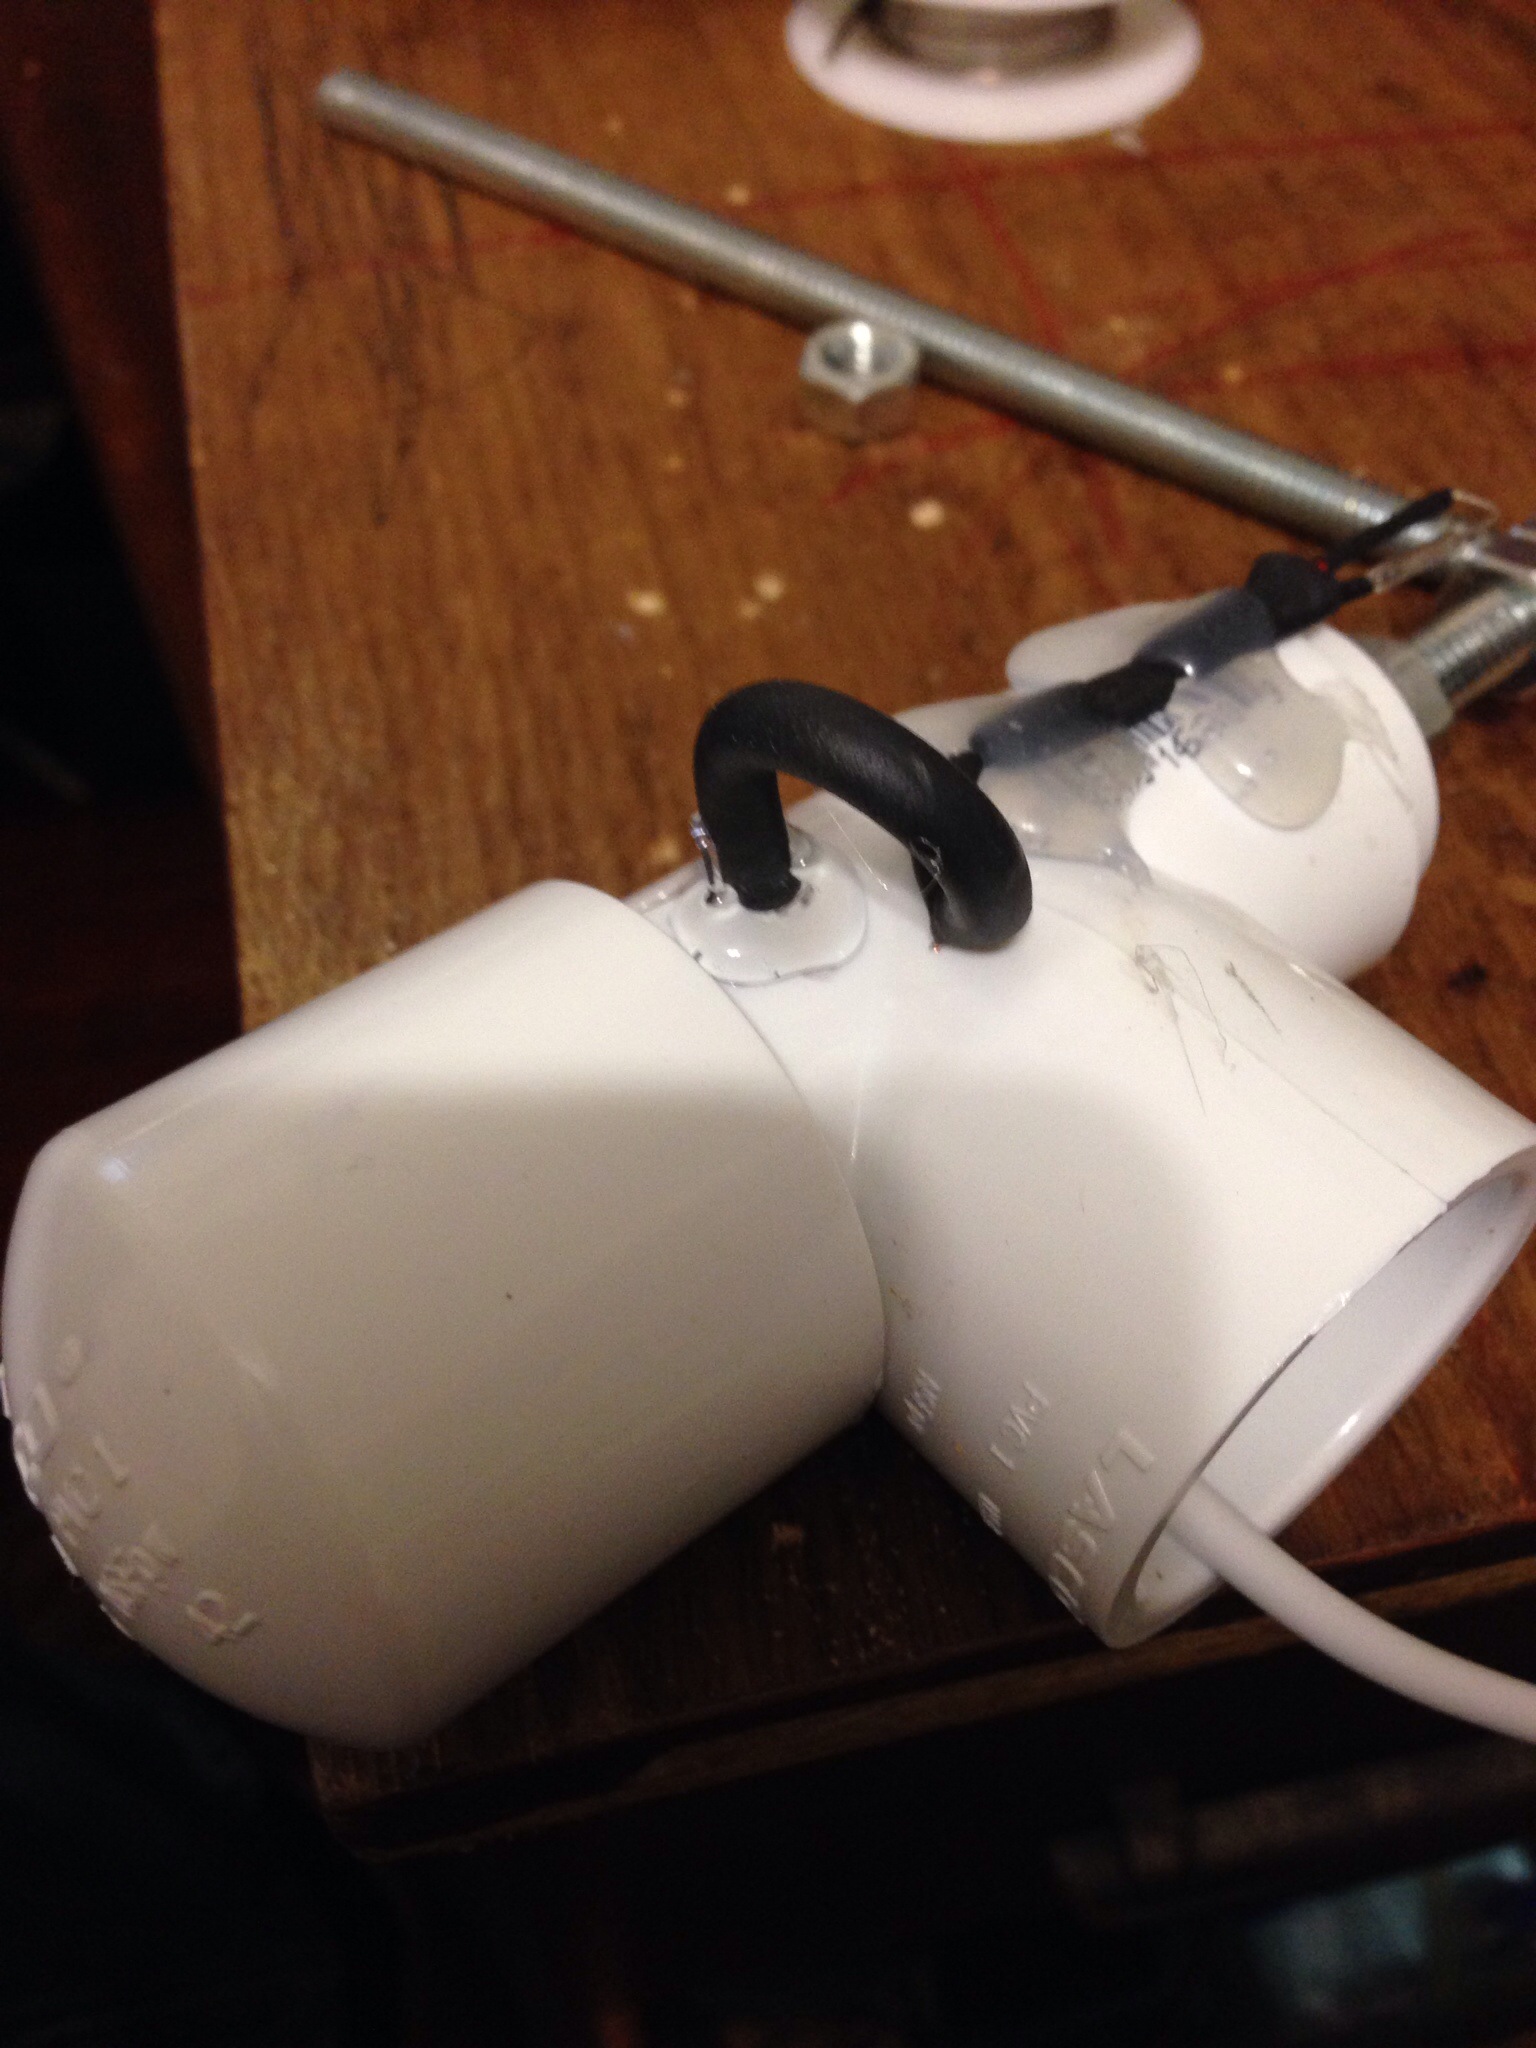
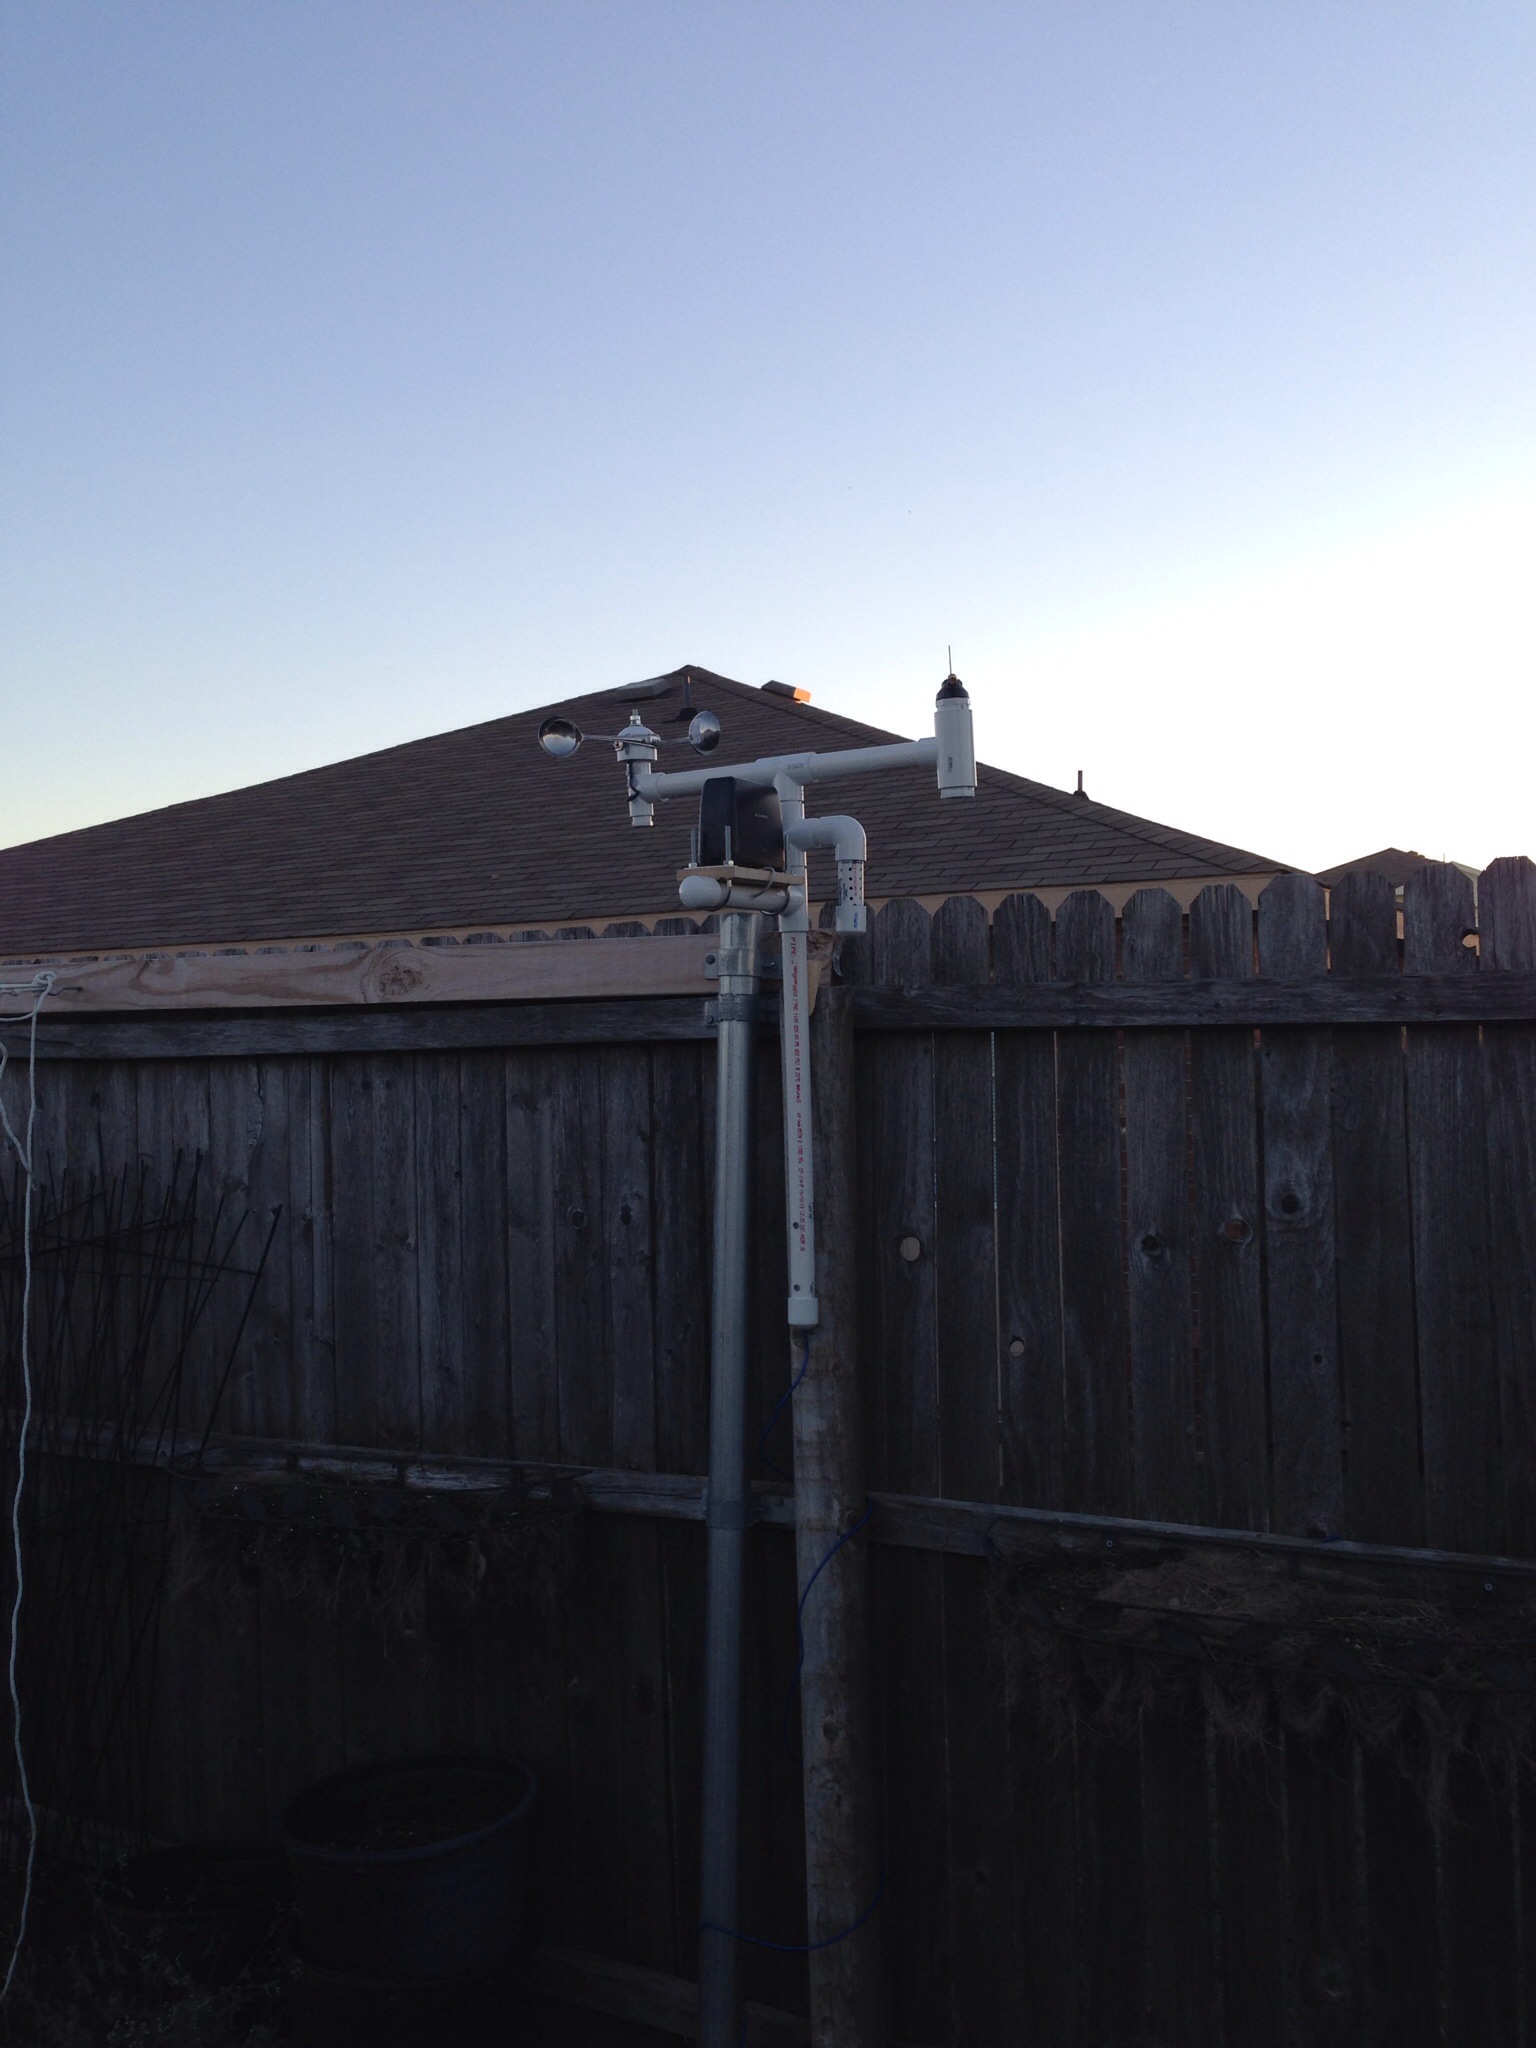
Finishing up, drill a hole in the side of the “T” so the wire can go back inside. Hot glue around the wire to keep it still. You can use 1″ PVC to connect it to the other parts of the weather station. (as shown in the following picture..) Place the cap on the underside of the “T” to keep things out. Here is a finished version on the desk and attached to the “mast”. I will post the python (and now Trinket as I’ll go into later) code that use later.
No comments