To start off, I wanted to say that I know there are other sensors that can do what the sensors that I use can do and possibly even do it better, but I’ve had these two sensors for several years now and they have done exactly what I’ve needed them to without fail.
For temperature I use a DS18B20 and for humidity I use a Honeywell HIH-5031. The DS18B20 is a very popular temperature sensor which uses the 1 wire protocol. the HIH-5031 is an analog humidity sensor that runs on 3V. The DS18B20 outputs a temp in C with the Arduino code, but the HIH-5031 only outputs a voltage which requires some code to translate into humidity. I’ll post all of that later when I post about the code I use on the Raspberry Pi.
Sensor Wiring:
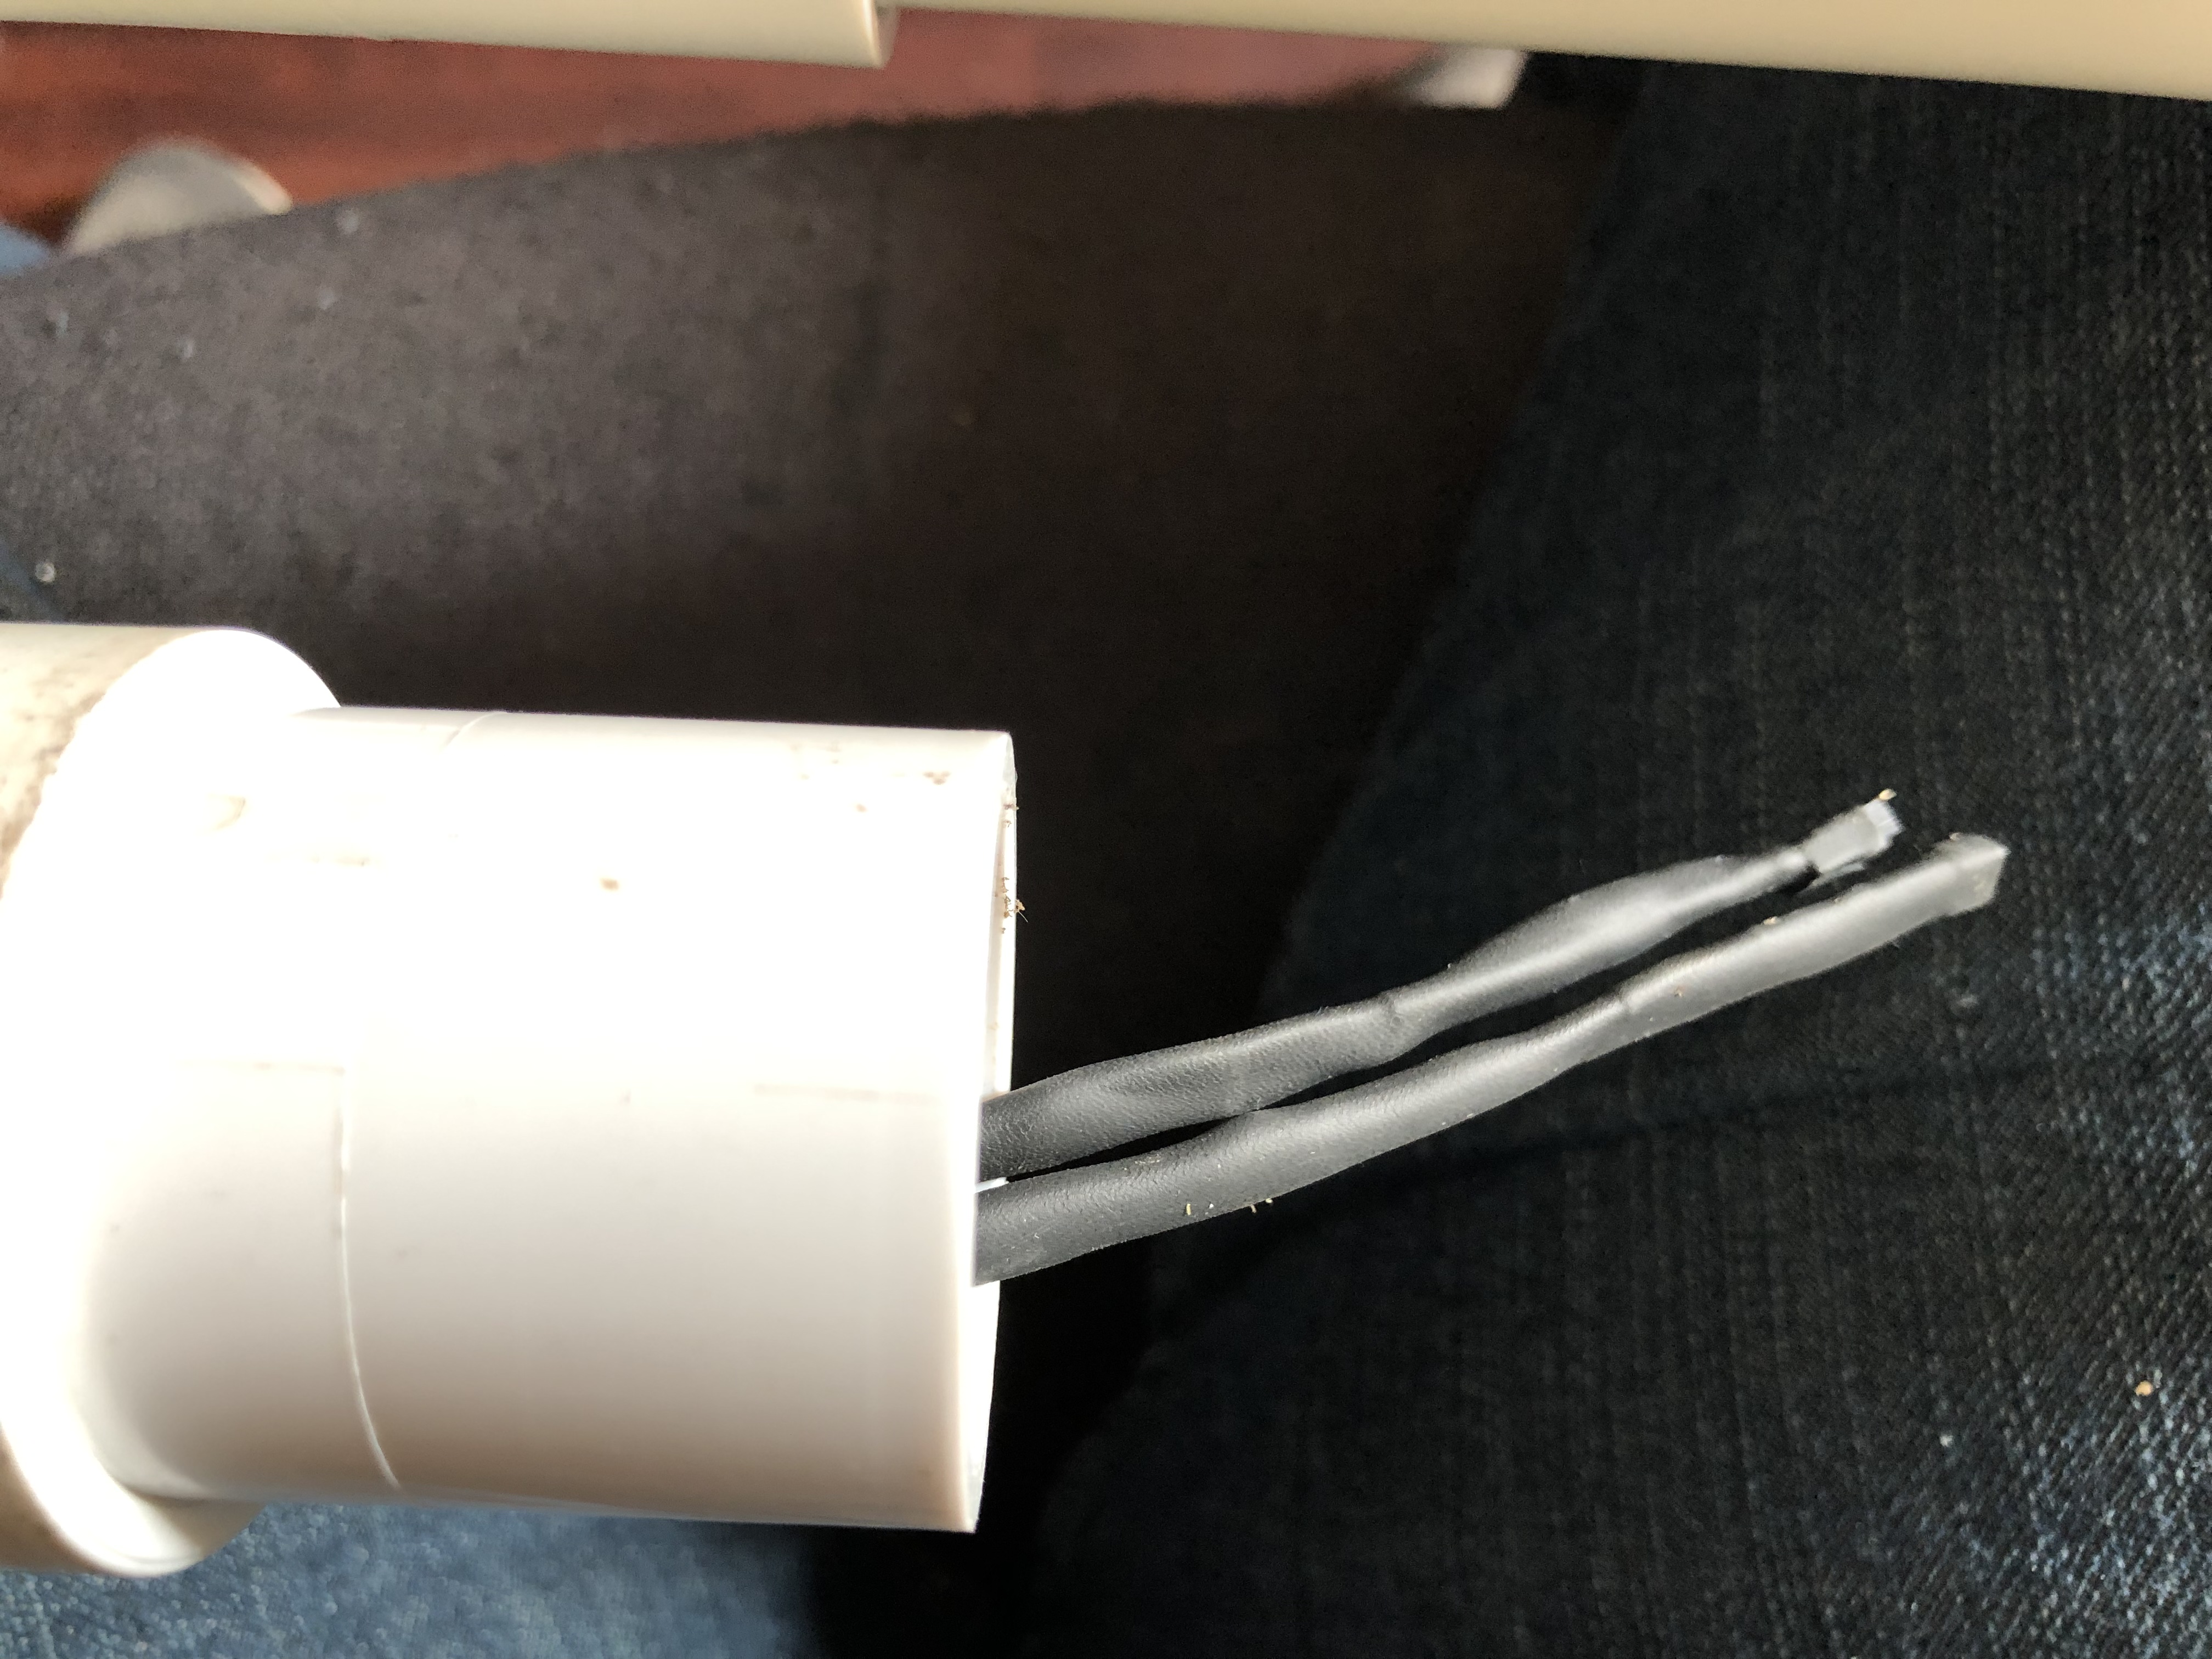
For wiring these sensors, each has 3 pins, a power, ground & read pin. Because each sensor really needs to be exposed to air to reach correctly, I soldered several single wires to their pins and then used shrink tube to cover the connections and then another piece of shrink tube to collect the 3 wires together and cover a bit of the end of the sensor. (You can see this in the pic above) The two sets of 3 wires are brought together into a single cat 3 cable (4 wires). I wire the power of each sensor to a red wire, the ground of each sensor to a black wire, then the read pins of each sensor to it’s own wire. This allows me to be able to have only 4 wires in the wiring harness for these two sensors instead of 6.

Sensor Mounting:
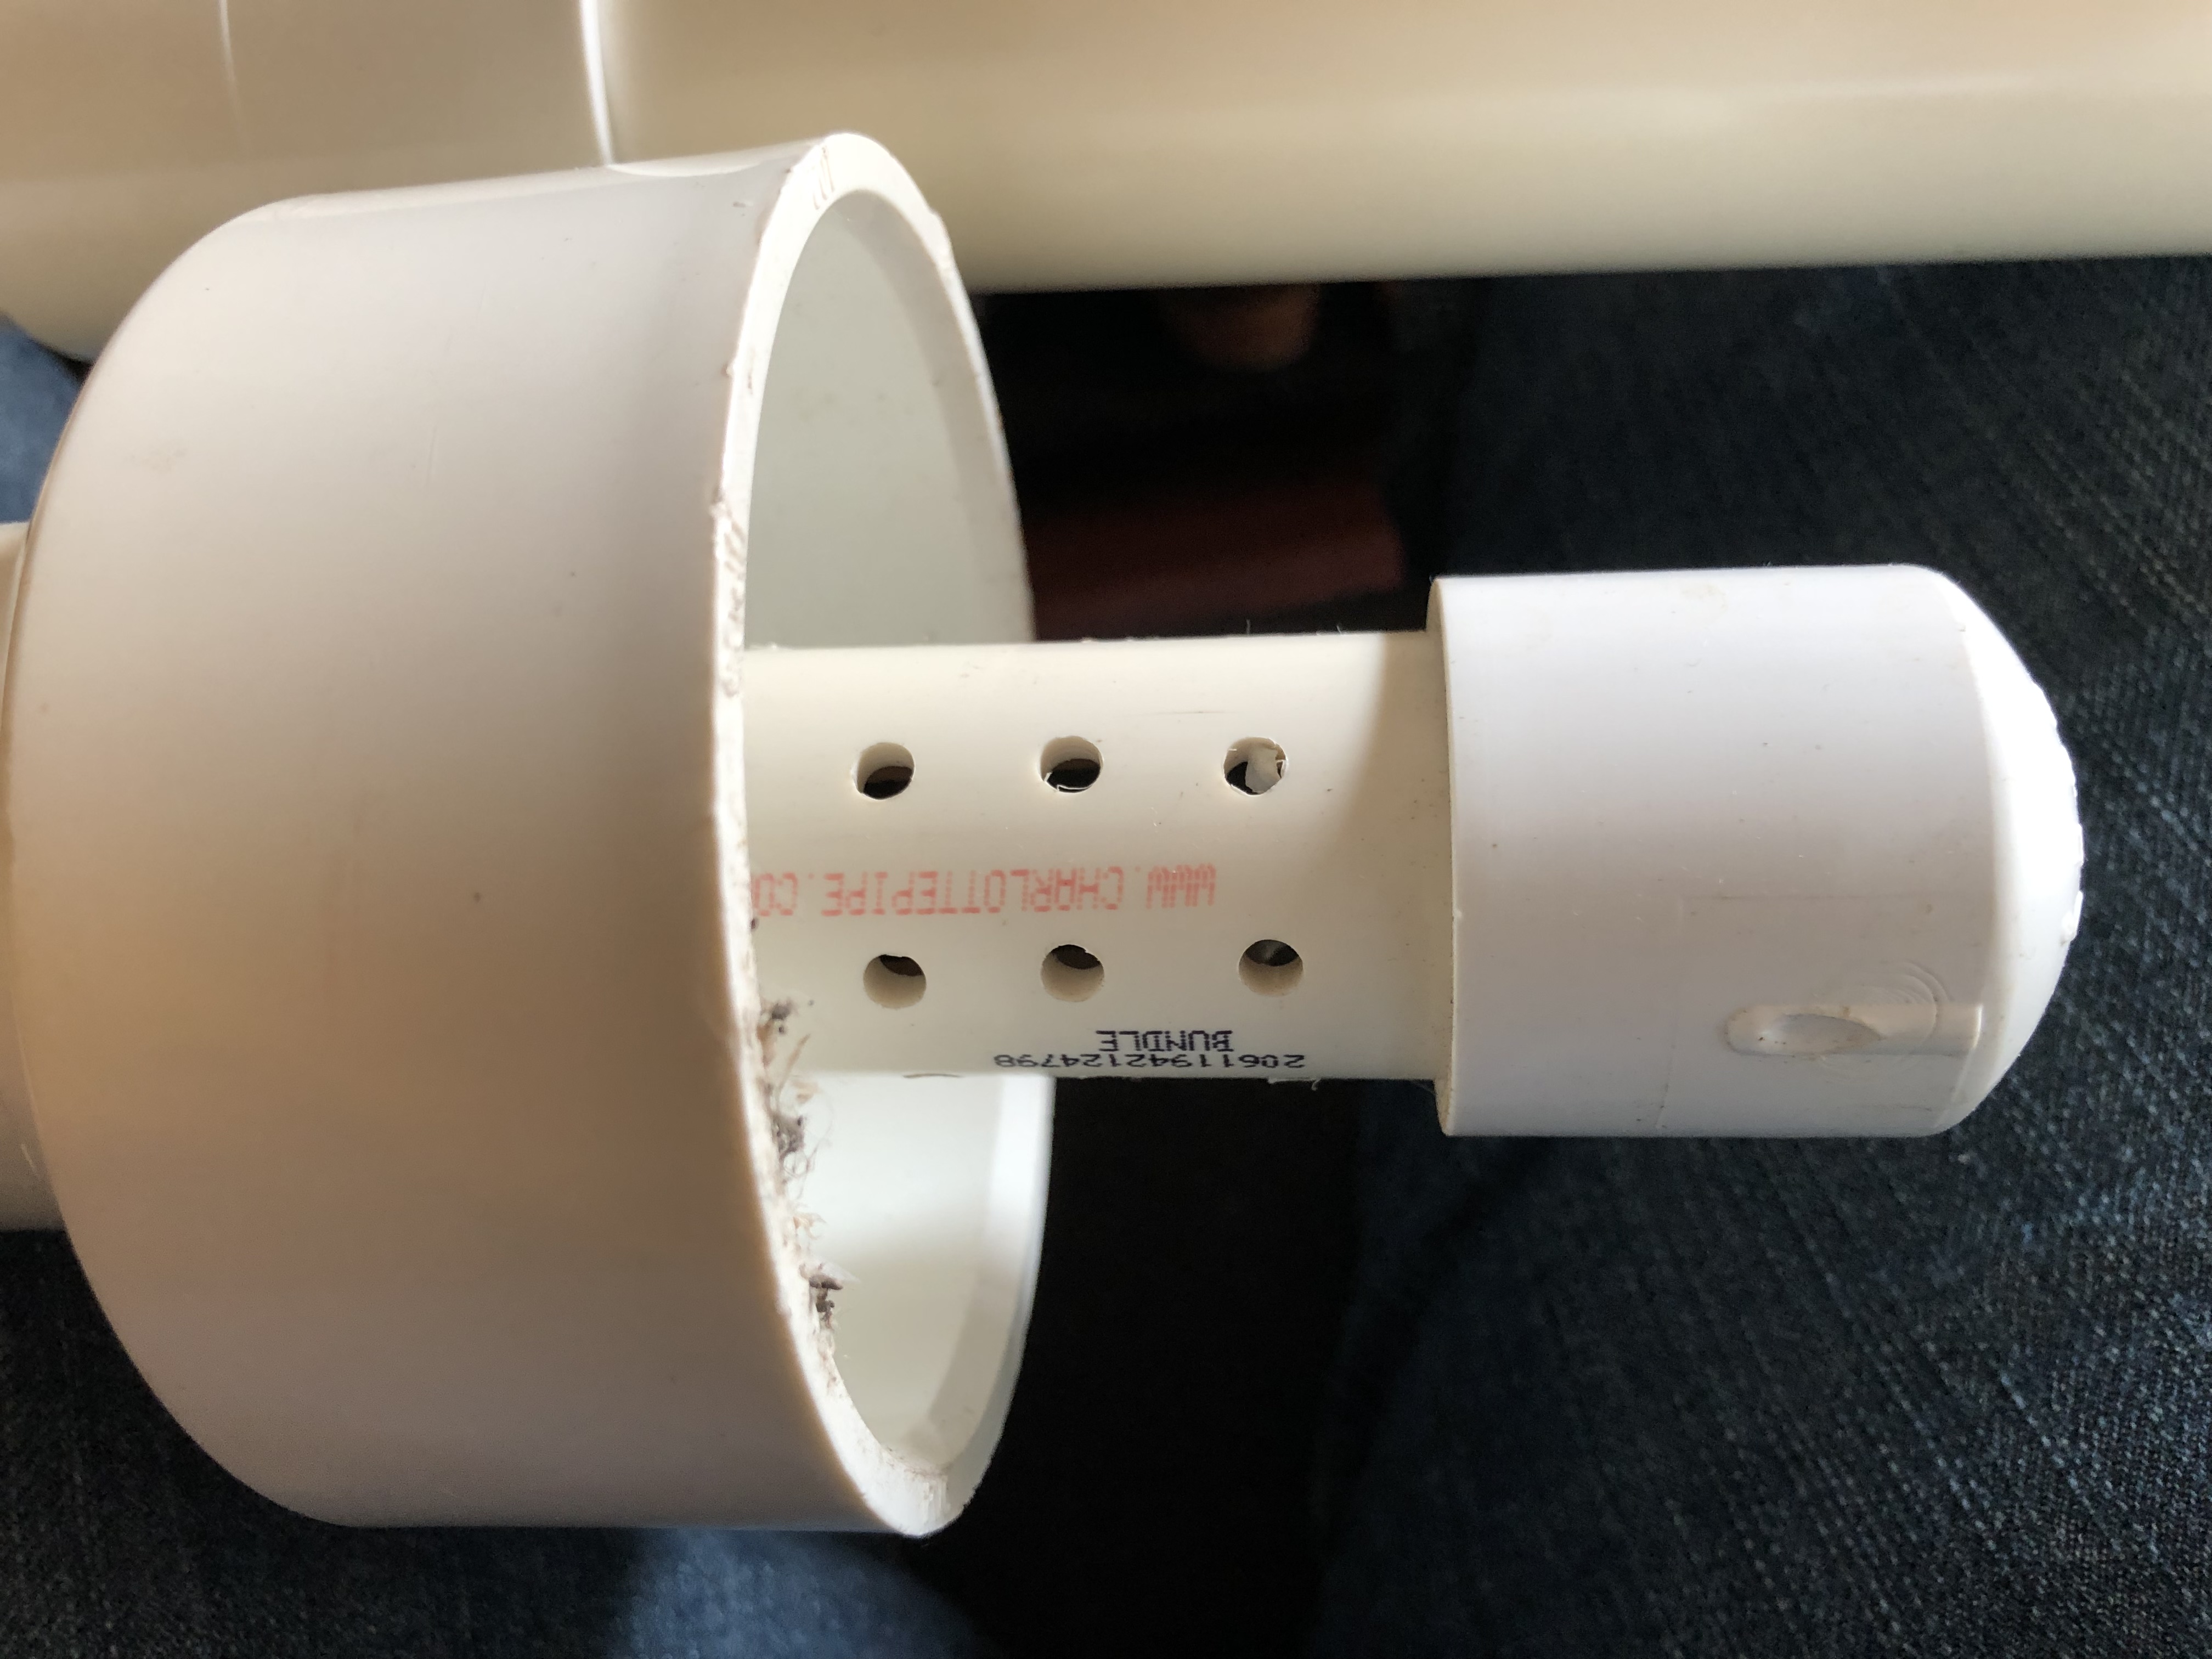
As you can see above, I use an offshoot of my main mast to hold these two sensors. The sensors themselves sit within a piece of 1 inch PVC that has holes drilled in it to allow for air flow. This is covered with a 3″ PVC pipe that protects from solar radiation as well as rain. I don’t have many of the details on all the PVC connections I used to make this happen, but all I did was go to the hardware store and start piecing things together to get what I wanted.
No comments